Chantilly Lili Recipe, The Meghan Markle Dessert That Broke the Internet

On April 2, 2025, Meghan Markle, the Duchess of Sussex, introduced a new Chantilly Lili Recipe, a dessert blending Southern nostalgia ...
Read more
Skip Starbucks, Make This Sexy Carajillo Spanish Coffee at Home

I’ll never forget the sticky summer evening in Barcelona when I stumbled into a dimly lit tapas bar, exhausted after ...
Read more
5 Must-Know Smoothie Recipes for Acid Reflux Relief

Let me tell you about the night I discovered acid reflux smoothie recipes would become my salvation. It was 2 AM, and ...
Read more
Ocean Love Colada Recipe: A Tropical Blue Drink That’ll Steal Your Heart

The first time I tasted the essence of what would become the Ocean Love Colada Recipe, I wasn’t on a pristine ...
Read more
Ugadi Pachadi Recipe: The Ancient Science of Six Tastes
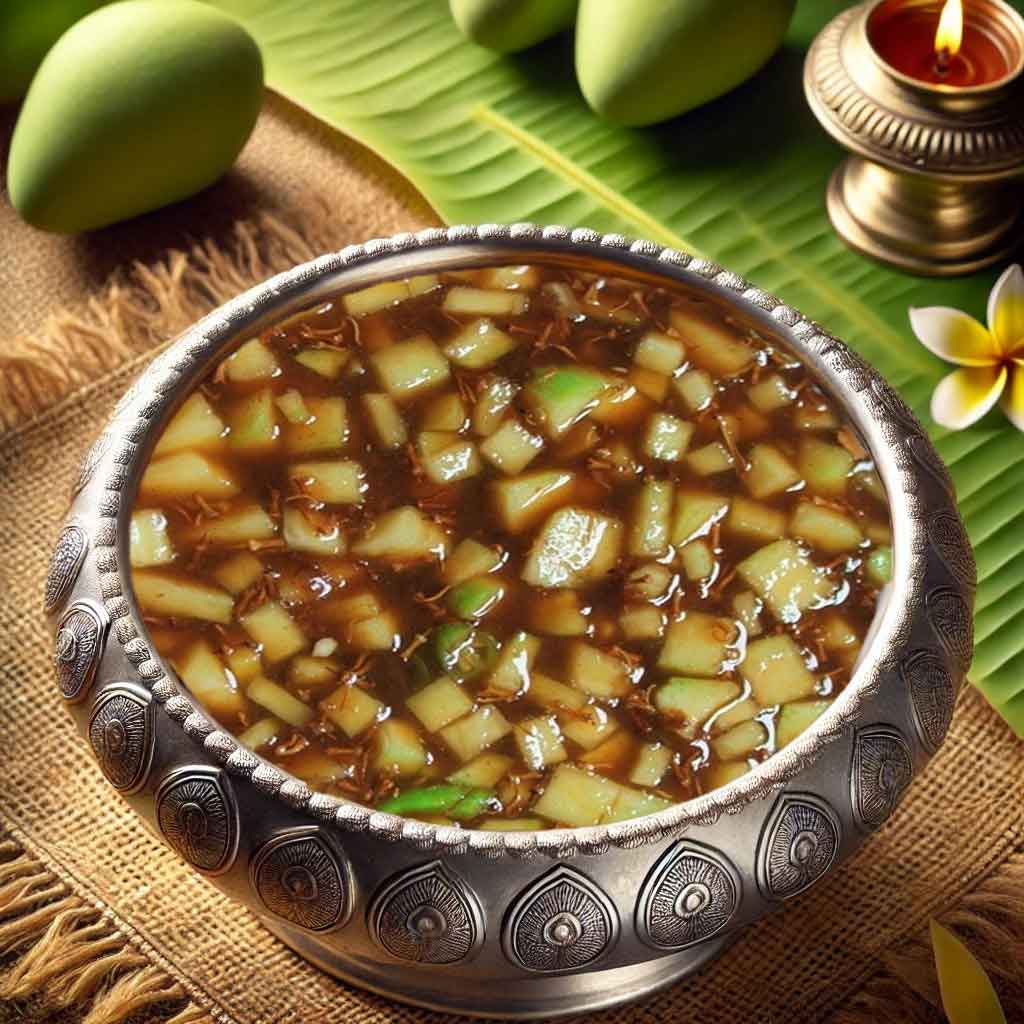
As the scent of mango blossoms fills the air, Telugu homes come alive with Ugadi celebrations. And what’s Ugadi without ...
Read more
The Bone Broth Guide: Recipes, Tips, and Unexpected Twists

Bone broth recipe nms has taken the culinary world by storm, and honestly, I get why. There’s something magical about ...
Read more
5 Easy Hummingbird Food Recipes That Actually Work
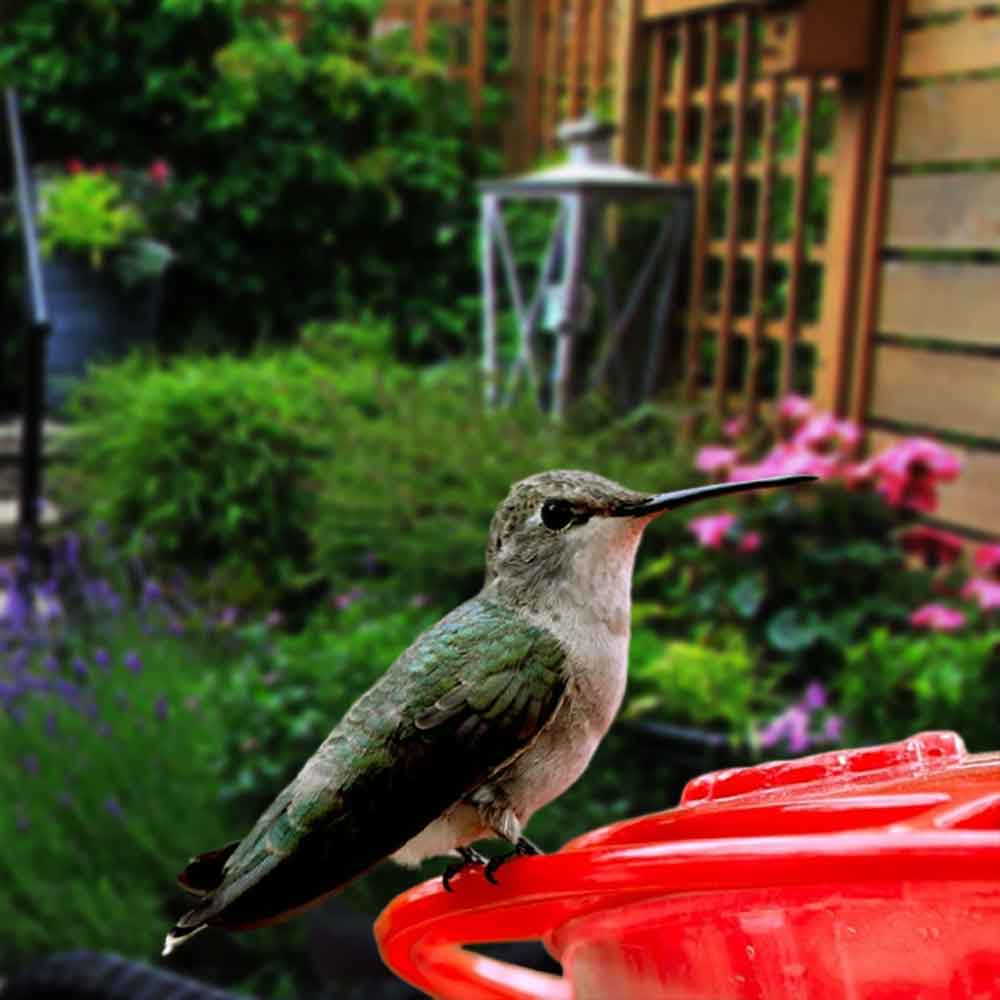
Let me tell you a little story. Last summer, I hung up a hummingbird feeder, filled it with store-bought red ...
Read more
Mastering the Art of Scaling: Key Considerations When Halving or Doubling a Recipe
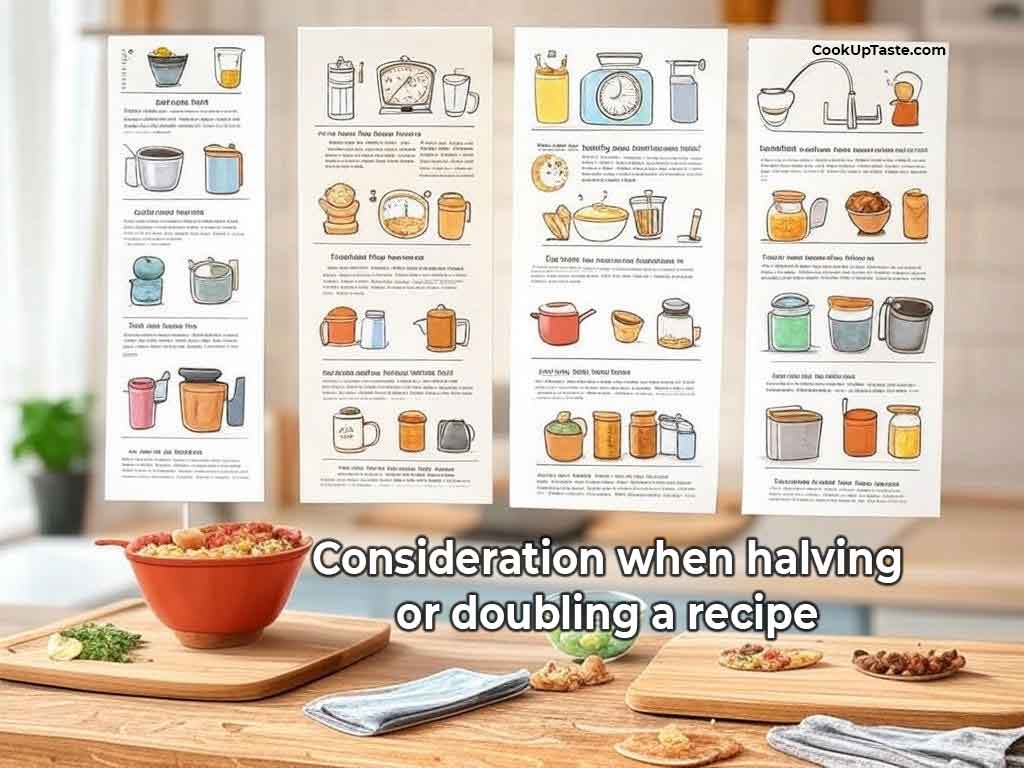
When I first started cooking, I often found myself wrestling with recipes that didn’t quite work when scaled. Whether I ...
Read more
3lb Bread Machine Recipes That Can Impress Even a French Baker

The Day I Accidentally Challenged a Boulanger Let me set the scene: It’s 8 a.m. in a tiny Parisian bakery. ...
Read more
Why Sheer Khurma Recipe Is Taking Over the US Right Now
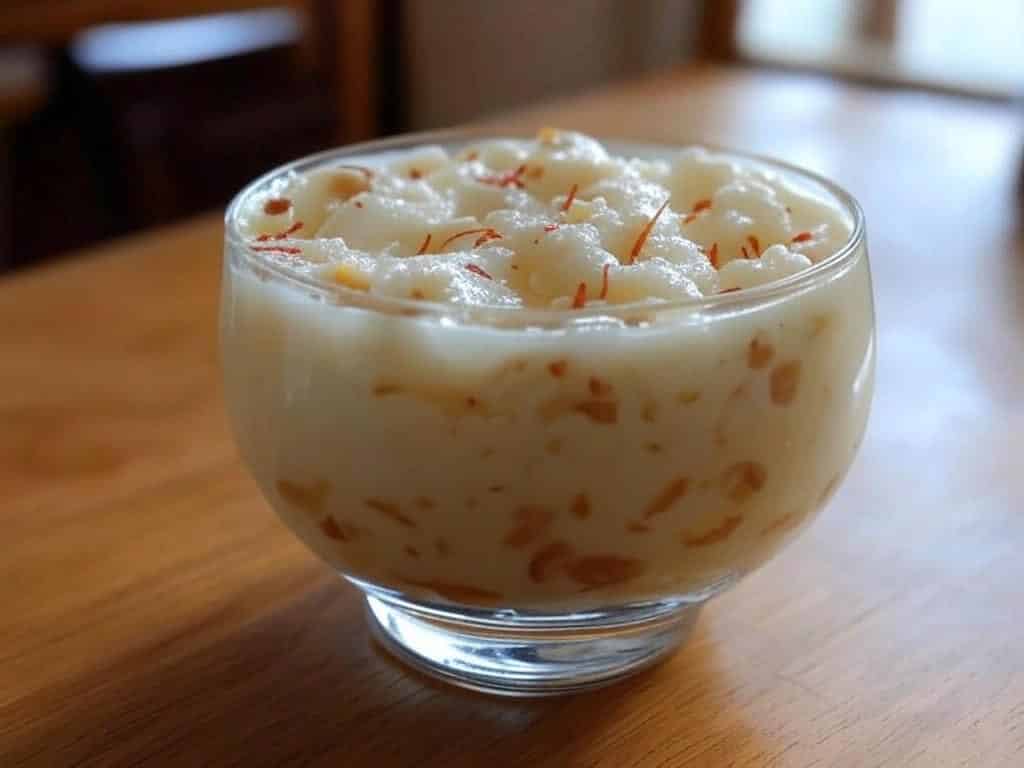
The Day I Fell in Love with a Bowl of Milk and Vermicelli Let me take you back to my ...
Read more