Yorkshire Pudding Recipe: Fluffy, Golden Perfection
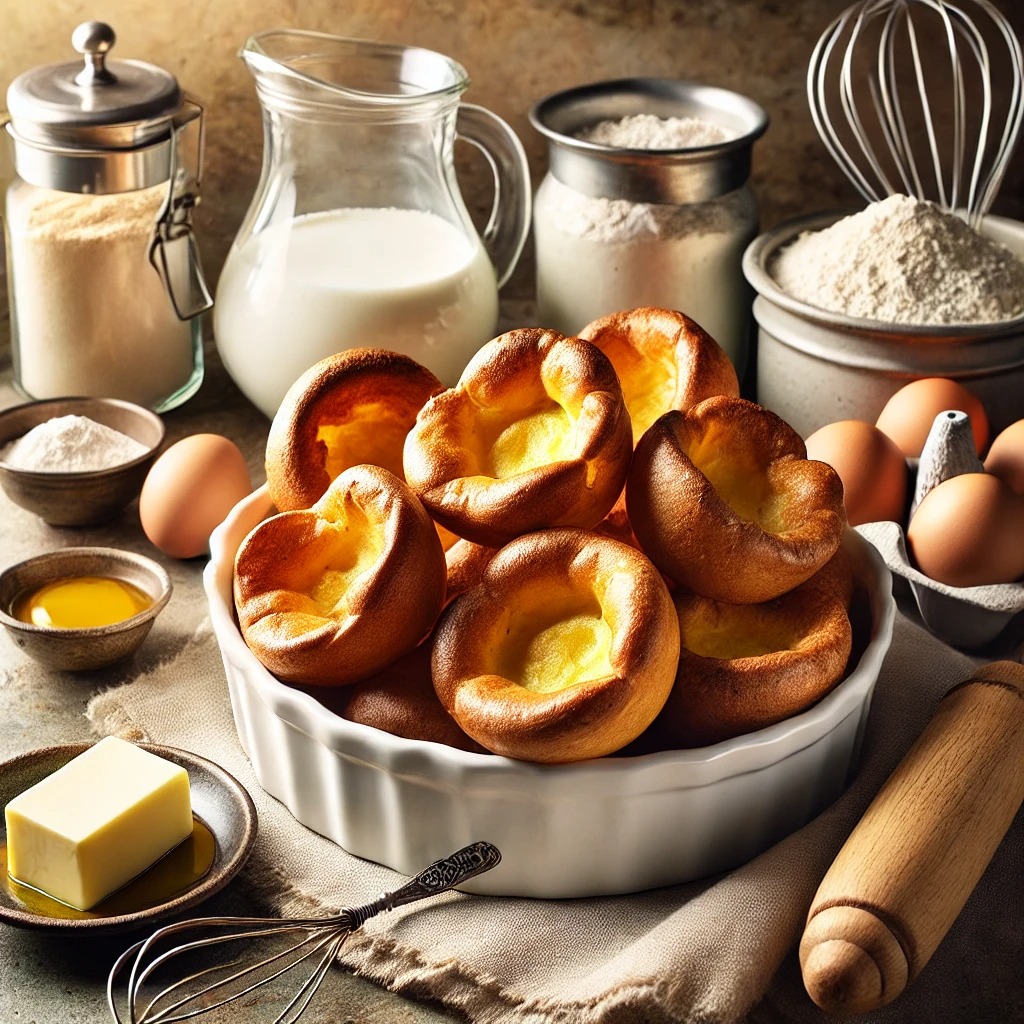
Today, we’re diving into one of Britain’s most beloved dishes: Yorkshire pudding. Crispy on the outside, soft in the middle, and ...
Read more
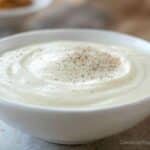
Blue Salt for Men: The Culinary Game-Changer Everyone’s Talking About

When it comes to refining your culinary skills, it’s the small touches that make the biggest difference. Enter blue salt ...
Read more
7 Tasty Leftover Rotisserie Chicken Recipes You’ll Love
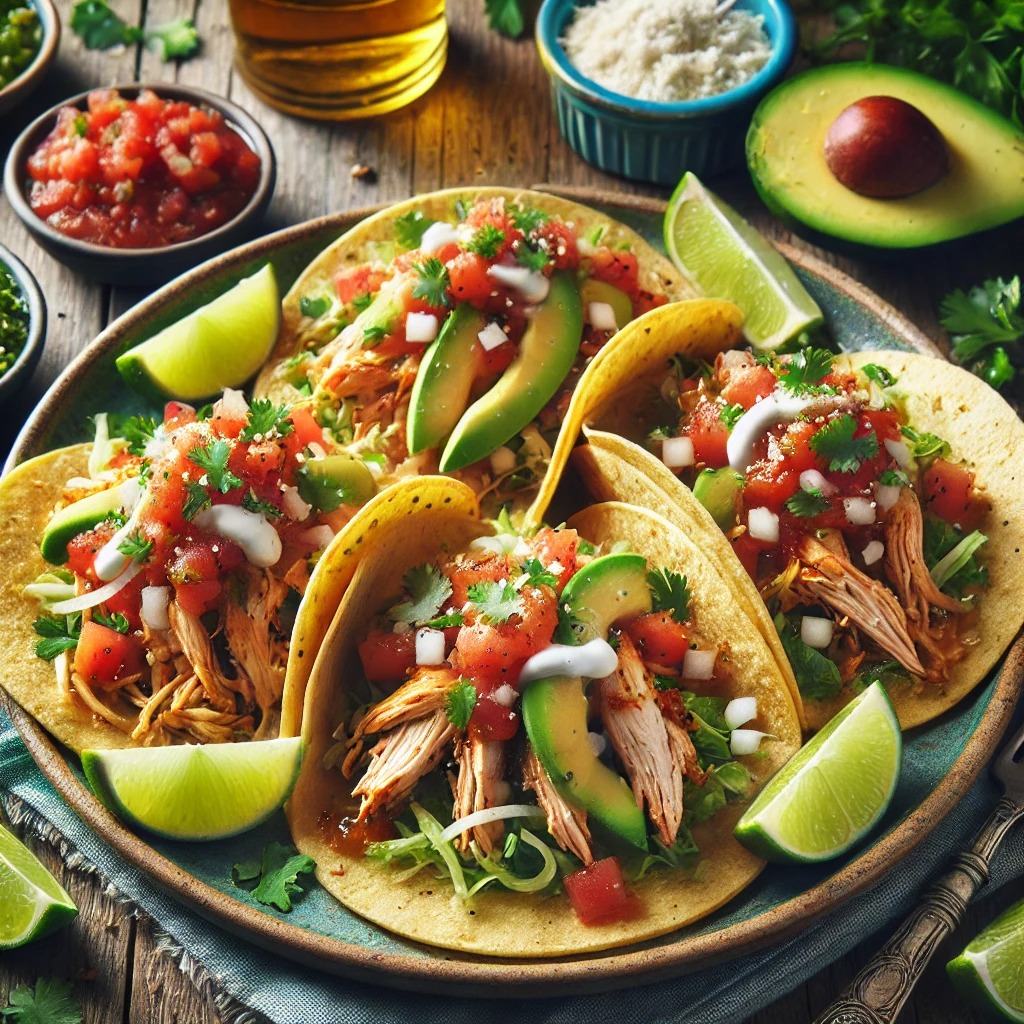
Hey kitchen adventurers! Remember that time you tried to turn leftover chicken into “gourmet ramen” and ended up with soup ...
Read more
The Best Rick Nolan Hotdish Recipe You’ll Ever Make
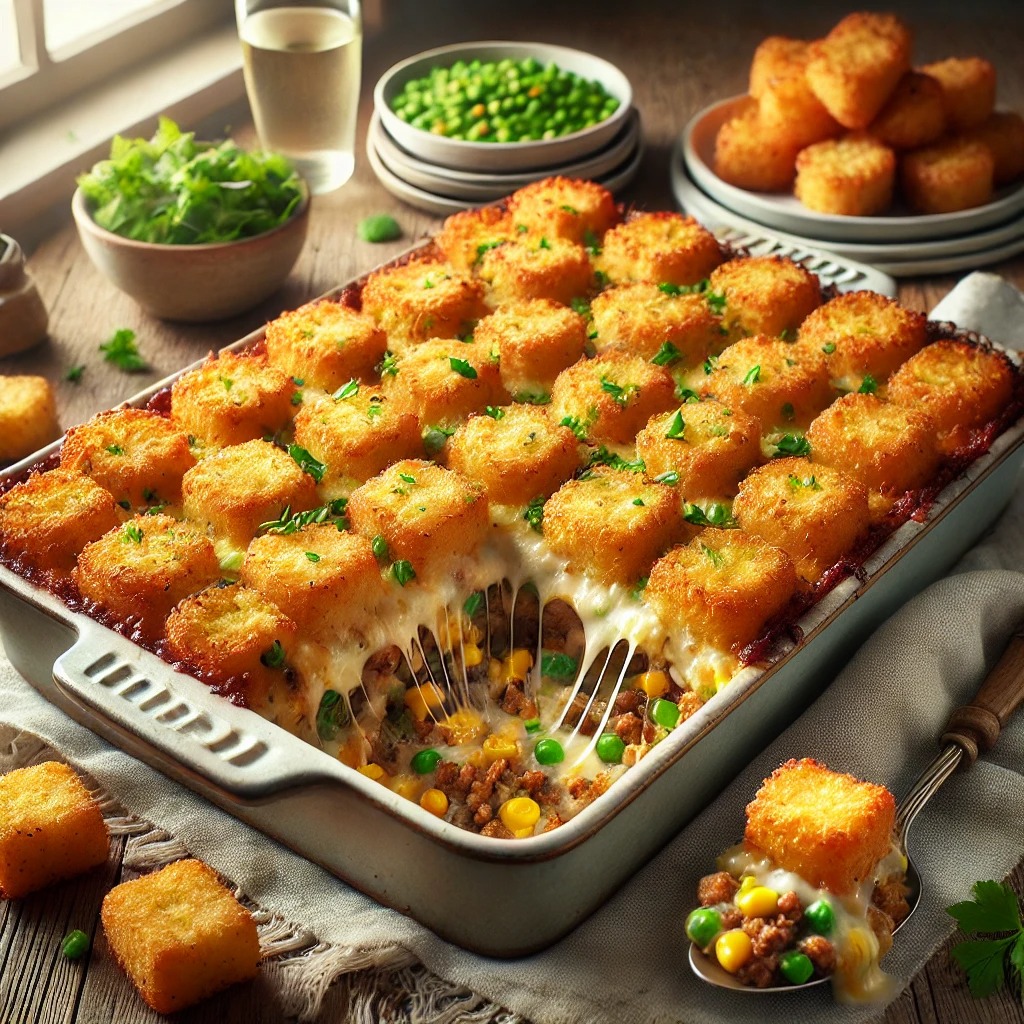
Hey there, food friends! Today, I’m sharing a recipe that’s as warm and welcoming as a hug from your grandma. ...
Read more
The Ultimate Slaps Cheesy Corn Recipe You Need to Try
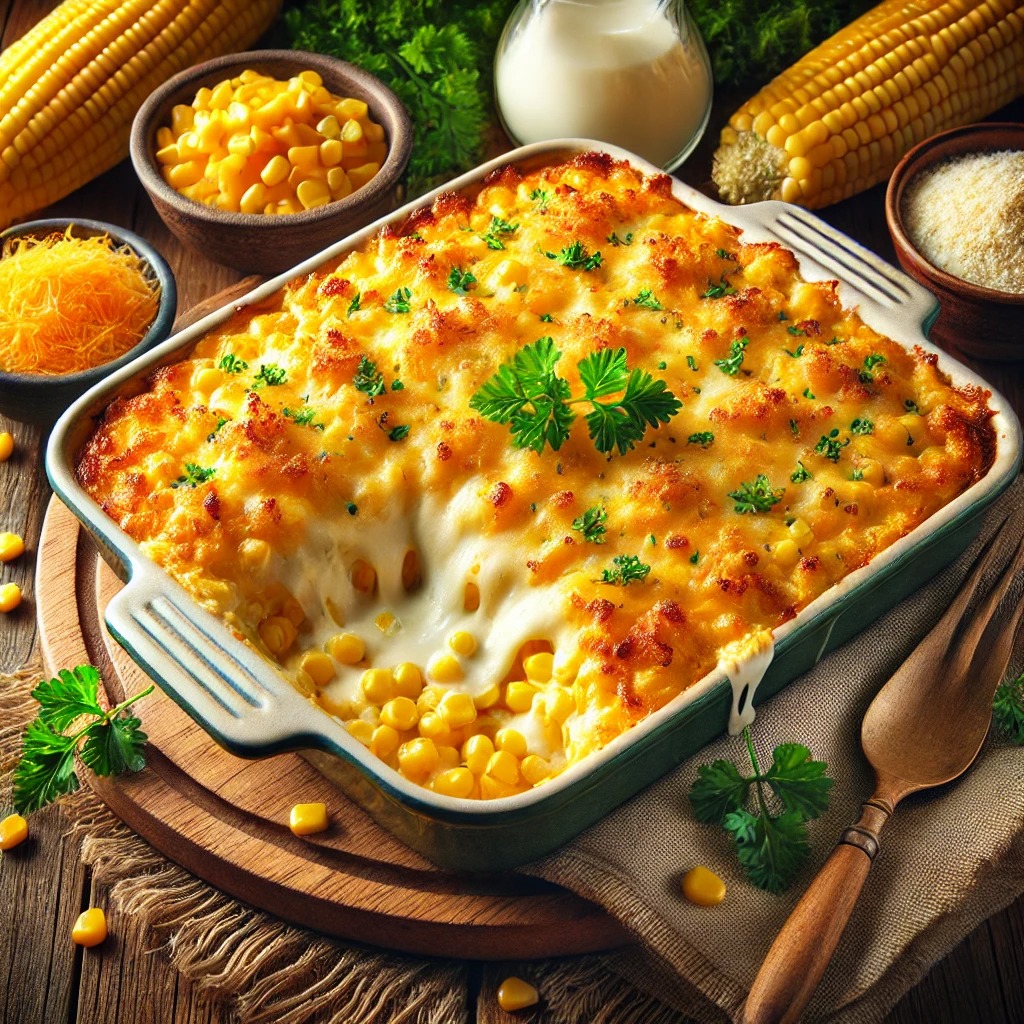
Hey! Today, I’m spilling the beans on my Slaps Cheesy Corn Recipe, a dish so ridiculously tasty, it’s earned permanent “family ...
Read more
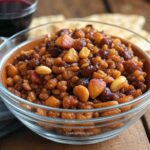
Affordable Yet Delicious: Passionate Penny Pincher Recipes
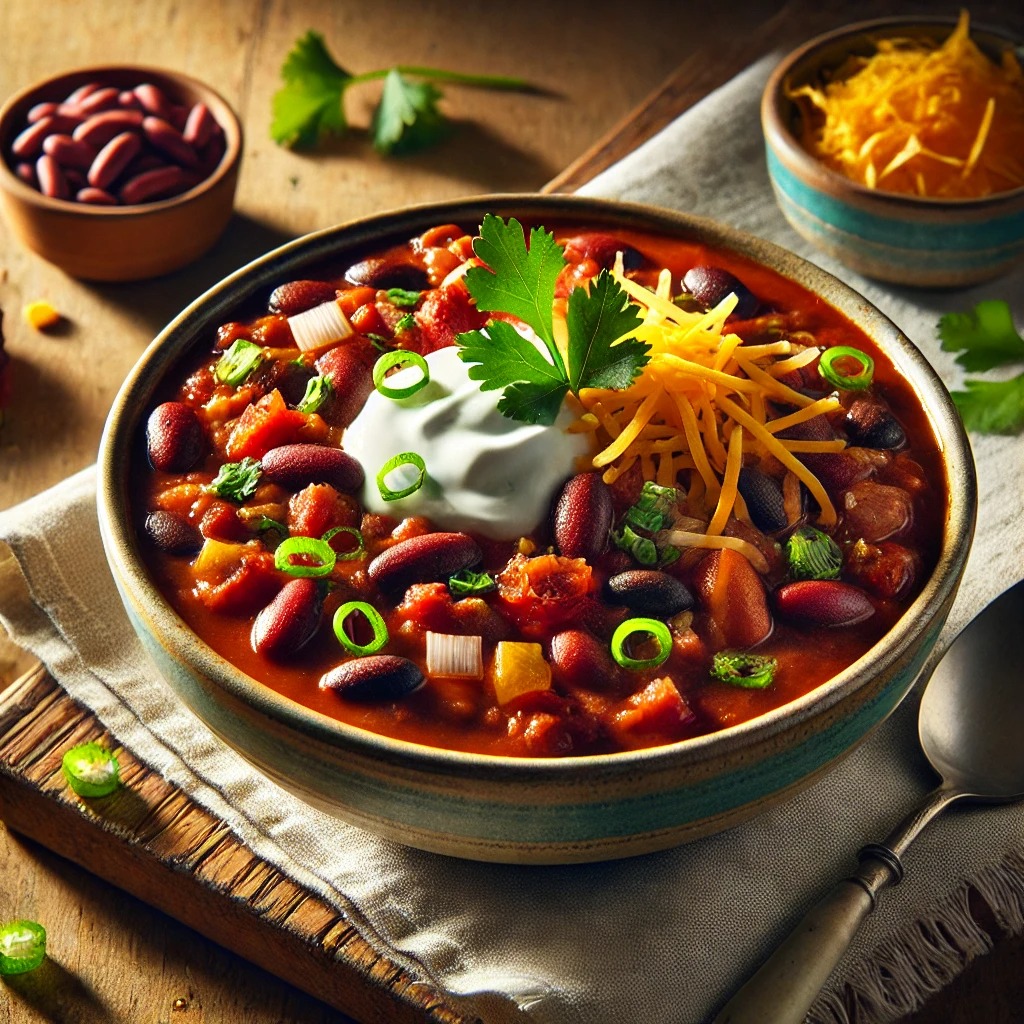
Cooking on a budget doesn’t mean sacrificing flavor. With a little creativity and know-how, anyone can enjoy hearty, delicious meals ...
Read more
Pecan Keyene Infused Bourbon Recipe: A Sweet & Smoky Twist
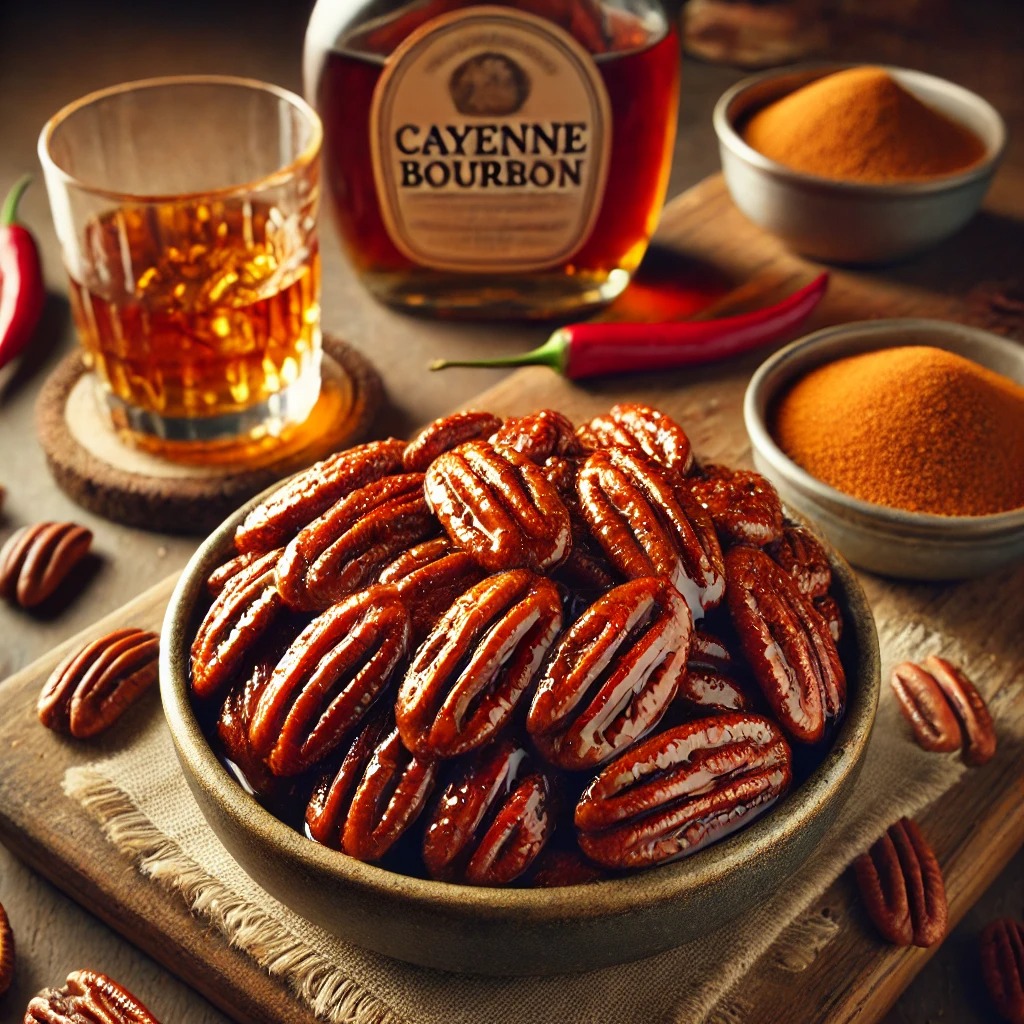
Hey there, bourbon lovers and curious cooks! Today, I’m sharing a recipe that’s as unique as it is delicious – Pecan ...
Read more
The Best Papas Rellenas Recipe – Chilean Style!

Hey there, food adventurers! Today, I’m taking you on a delicious journey to Chile with a recipe that’s as fun ...
Read more
Sourdough Discard Pizza Dough: The Perfect Recipe for Crisp, Flavorful Crust
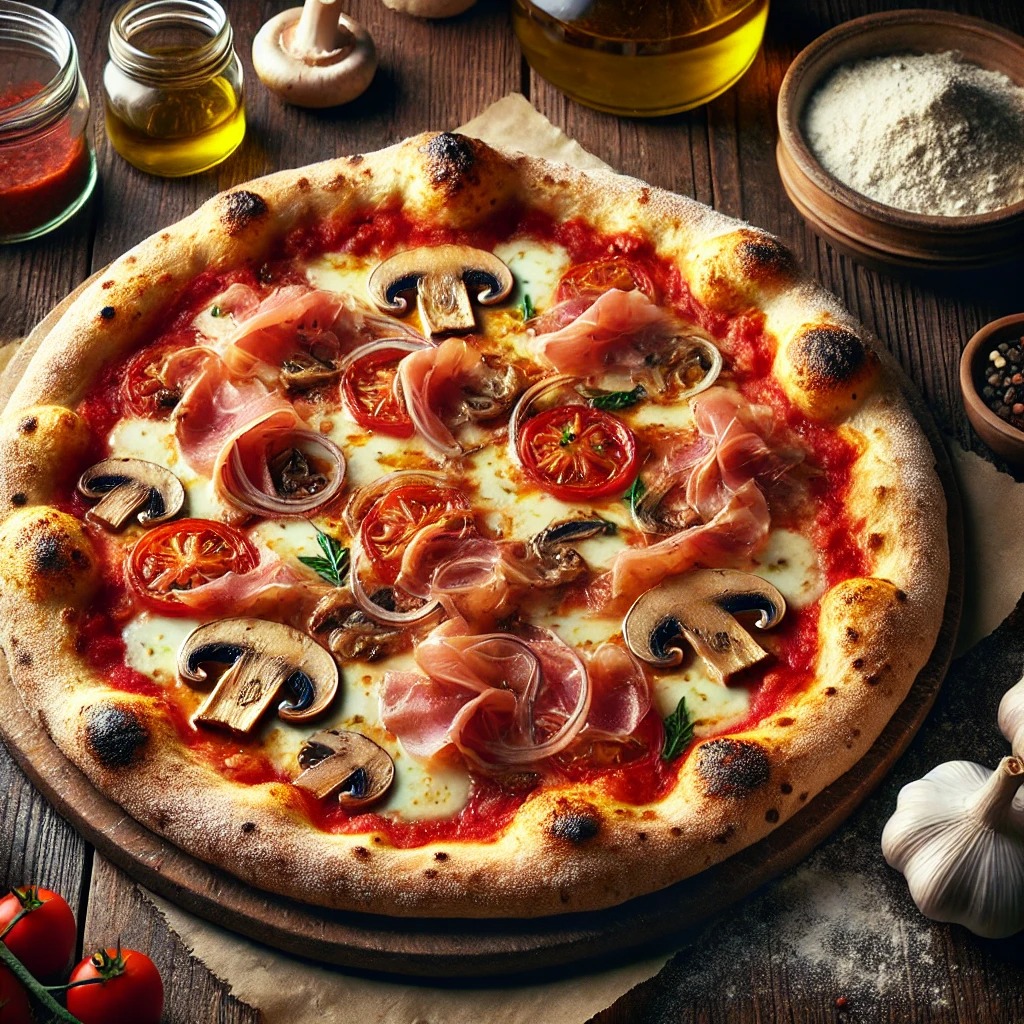
One day, I was cleaning my fridge and found a jar of sourdough discard. (That’s the leftover sourdough starter you ...
Read more
Dinty Moore Beef Stew Recipe: A Comfort Food Classic!
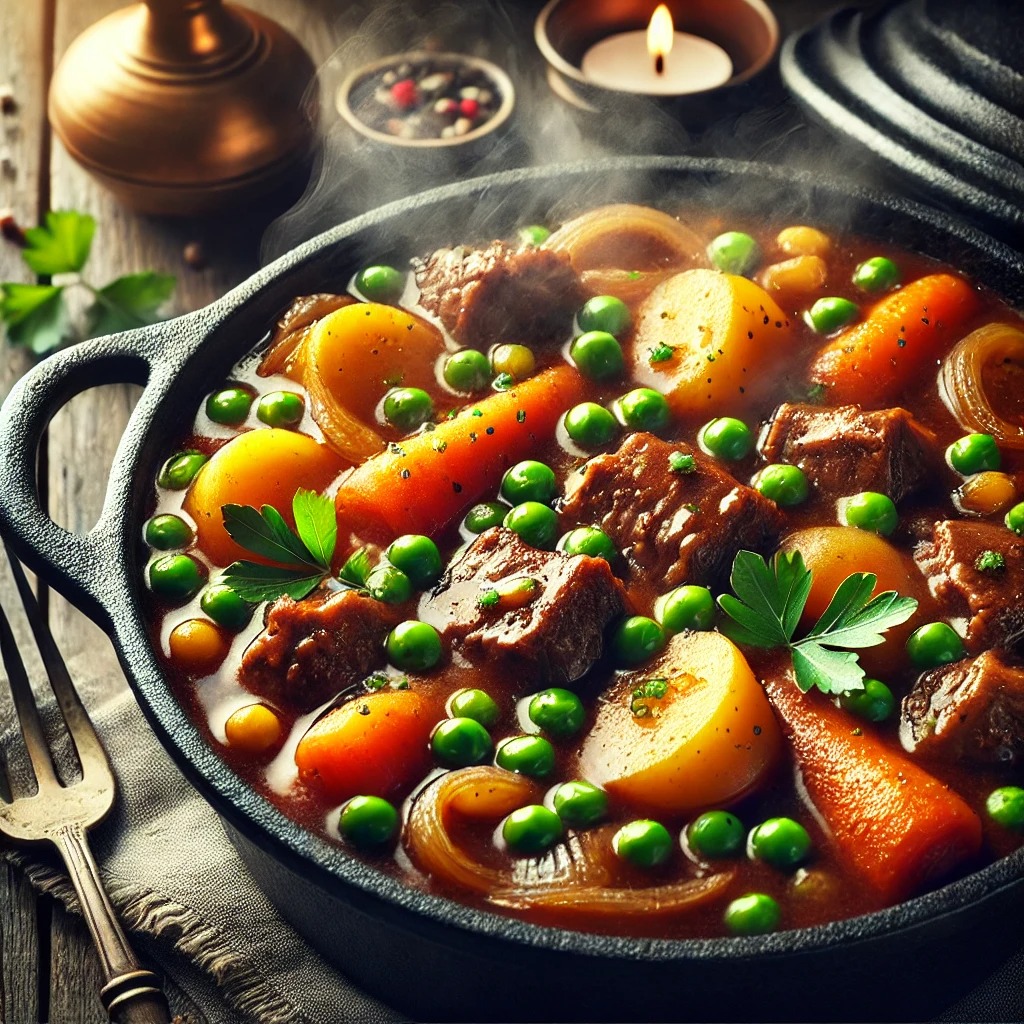
There’s something magical about a steaming bowl of beef stew. It’s not just the tender beef, the hearty veggies, or ...
Read more