The Day I Accidentally Challenged a Boulanger
Let me set the scene: It’s 8 a.m. in a tiny Parisian bakery. I’m clutching a warm baguette, its crust crackling like autumn leaves under my fingers. The baker, a flour-dusted man with a walrus mustache, nods approvingly. “C’est parfait,” he says.
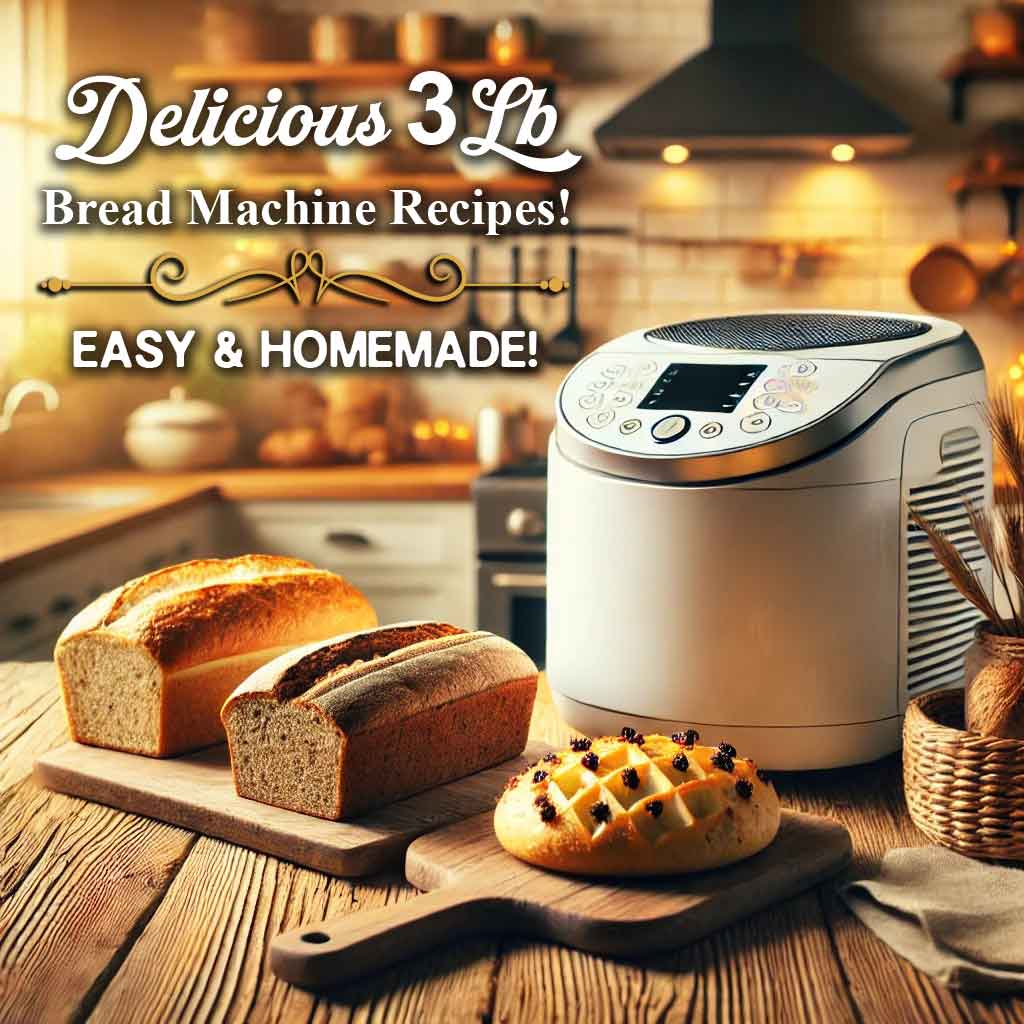
Fast-forward to last month. My cousin Pierre, a very French, very skeptical pastry chef-visited my suburban kitchen. When I casually mentioned my collection of 3lb bread machine recipes that rivaled his artisanal loaves, he actually laughed. “Impossible,” he scoffed. “A machine cannot make l’âme… the soul of bread.”
Little did he know my trusty appliance had been quietly perfecting French-style loaves for months. By the end of his visit, Pierre was hunched over my kitchen counter, picking at the golden crust of a machine-made brioche, muttering, “Incroyable.”
Want to know how a humble 3lb bread machine recipe transformed this skeptic? Let’s re-create that magic in your kitchen-no French passport required.
Challenge accepted.
By the end of his visit, Pierre was nibbling a slice of my machine-made brioche, muttering, “Incroyable.” Want to know how I did it? Let’s re-create that magic in your kitchen.
The Secret Life of French Bread (It’s Not Just Flour and Attitude)
French bread isn’t food, it’s a mood. It’s the crunch of a baguette under a striped market awning. It’s the way brioche melts on your tongue like buttery sunshine. But here’s the thing: You don’t need a 200-year-old stone oven to make it.
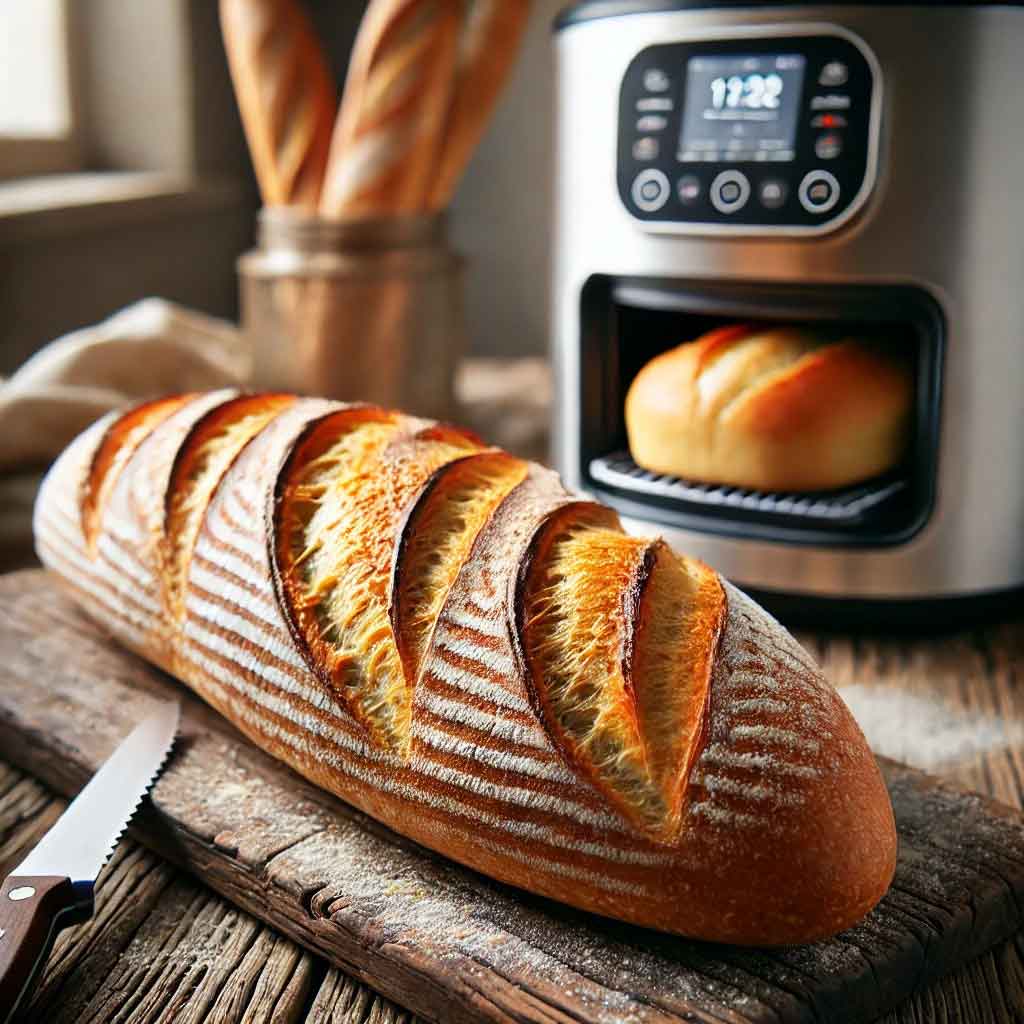
Your bread machine? Think of it as a trusty sous-chef. It handles the grunt work (kneading, timing, temperature), while you master the artistry. The key is understanding French bread’s three sacred rules:
- Crust must sing when you tap it.
- Crumb should look like a honeycomb (air pockets = bragging rights).
- Flavor needs depth, like a good wine, not a TikTok trend.
Fun Story: My first “French” loaf came out denser than a Shakespeare anthology. Why? I used all-purpose flour. Bread flour’s higher protein (thanks, gluten!) saved my sanity.
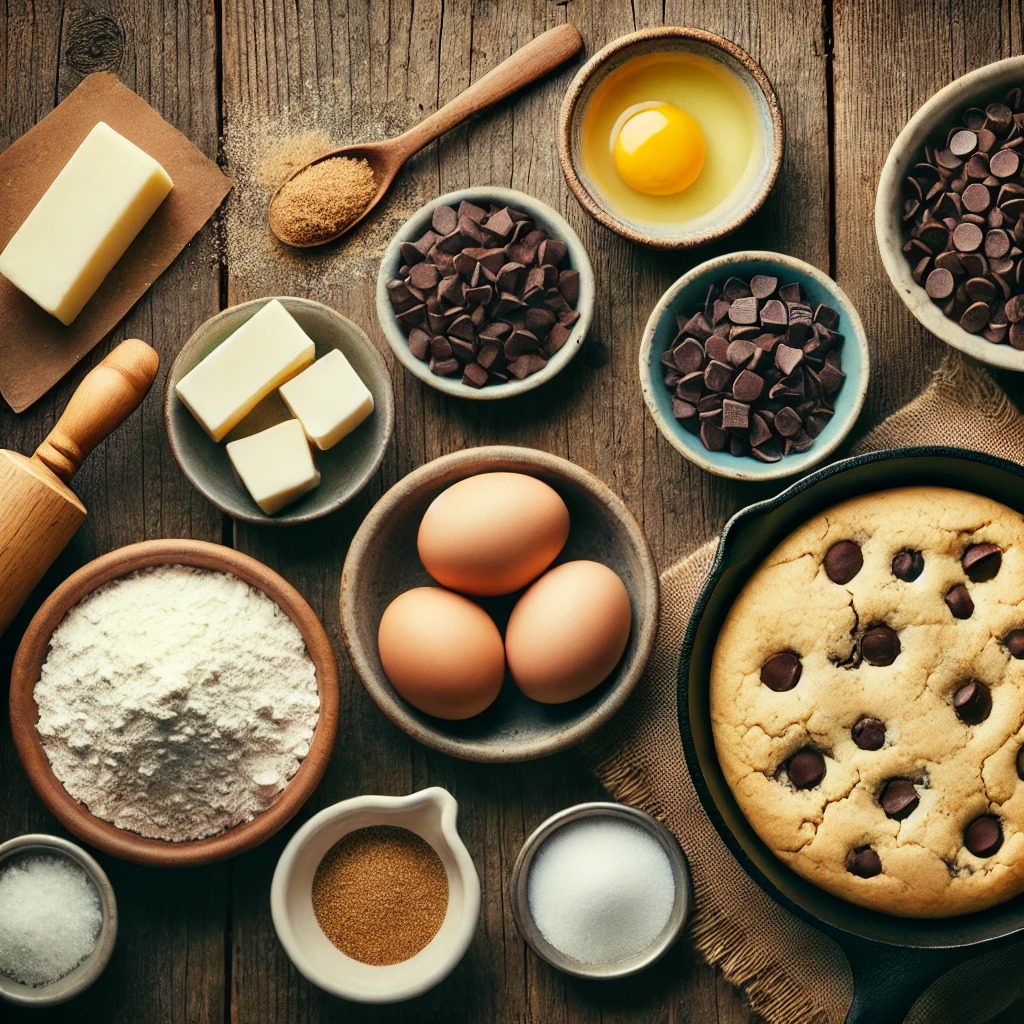
The French Pantry Hack: 5 Ingredients You Already Own
You won’t need truffle oil or unicorn tears. Just:
- Bread Flour: The Beyoncé of flours. It’s got the protein punch (12-14%) for chewy glory.
- Cold Butter: For brioche so rich, it’ll make your tax bill hurt less.
- Instant Yeast: The overachiever that doesn’t need proofing (unlike my ex).
- Honey: Not for sweetness-it’s yeast’s BFF, feeding fermentation.
- Salt: Sel de Guérande if you’re fancy, kosher salt if you’re sane.
Confession: I once subbed honey for maple syrup in a midnight baking frenzy. The result? A vaguely Canadian pain d’érable. Pierre still doesn’t know.
🍞 Upgrade Your Baking Game with These Amazing Bread Machines!
- Neretva Bread Maker – The Ultimate 3.3LB Bakery at Home! ($167.99, 16% OFF )
🔥 Limited-Time Spring Deal – Save 16%! 🔥
👉 [Get Yours Now & Start Baking Like a Pro!] Click here👈
2. OSIPOTO 2LB Bread Maker – Perfect for Beginners! ($99.99, 50% OFF )
Want homemade bread without the hassle? This compact yet powerful OSIPOTO Bread Machine is your best friend!
💥 HALF PRICE Spring Sale – Don’t Miss Out! 💥
👉 [Grab This Deal Before It’s Gone!] Click here👈
Why wait? Bring the bakery home today! 🥖✨
The Recipes That Made Pierre Shut Up
Recipe 1: The “Oops, I’m a Boulanger” White Bread
(Your gateway drug to French baking)
Plot Twist: This isn’t sandwich bread. It’s the loaf you’ll tear into, still warm, while pretending you’re in Saint-Germain.
Ingredients (for a 3lb loaf):
- 2 ½ cups warm water (baby-bath temperature)
- 4 cups bread flour
- 2 cups all-purpose flour (the wingman)
- 2 tsp salt
- 1 tbsp sugar (yeast’s love language)
- 2 ¼ tsp instant yeast
Drama-Free Steps:
- Dump everything into the machine. Water first, yeast last, like tucking a child into bed.
- Press “French Bread” cycle. No fancy button? Use “Basic” with a medium crust.
- When it beeps, perform the Tap Test: Knock the loaf’s bottom. If it sounds hollow, you’ve won.
Pro Tip from Pierre: Want a crust that shatters like your resolve on a diet? Toss ice cubes into a preheated oven tray below the bread during the last 10 minutes. Steam = crunch.
Nutrition (Per Slice): 160 kcal. Pair with Brie and a tiny smug smile.
Recipe 2: Brioche That’s Basically a Hug in Bread Form
Backstory: Brioche was Marie Antoinette’s downfall. After tasting this, you’ll understand why.
Ingredients:
- ¾ cup warm milk (whole, or oat milk for drama)
- 6 tbsp cold butter (unsalted, cubed, like edible LEGOs)
- 4 cups bread flour
- ⅓ cup sugar (not for sweetness, for swagger)
- 1 ½ tsp salt
- 4 eggs + 1 yolk (save the yolk for a shiny top)
- 2 ¼ tsp instant yeast
Method:
- Layer ingredients in the machine. Milk first, yeast last, this isn’t a free-for-all.
- Hit “Sweet Bread” cycle. No setting? Use “Dough,” then bake at 375°F for 25 minutes.
- Brush with the reserved yolk for a glossy finish.
Confession: I once forgot the butter. The result? A sad, brioche-shaped paperweight. Don’t be me.
Nutrition (Per Slice): 210 kcal. Worth every crumb.
Recipe 3: Pain de Campagne (Or, “How to Look Like a Rustic Genius”)
The Vibe: This loaf says, “I forage my own wheat.” (Spoiler: You don’t have to.)
Ingredients:
- 2 cups warm water
- 3 cups bread flour
- 1 ½ cups whole wheat flour (for that earthy je ne sais quoi)
- 1 ½ tsp salt
- 1 tbsp honey
- 2 ¼ tsp instant yeast
Instructions:
- Toss everything into the machine. Use the “Whole Wheat” cycle.
- Post-baking, channel your inner artist: Dust with flour, slash the top with a razor.
Secret Weapon: Let the dough “rest” overnight in the fridge. Slow fermentation = flavor that haunts your dreams.
Nutrition (Per Slice): 140 kcal. Best enjoyed with salted butter and a side of existential clarity.
Recipe 3: Classic French Baguette (3lb Bread Machine Recipe)
Classic French Baguette (3lb Bread Machine Recipe)
Equipment
- 3lb bread machine
- Baking stone or steel (optional)
- Spray bottle for water
- Sharp razor or lame for scoring
Ingredients
- 2 ½ cups 600ml warm water (105-110°F)
- 4 cups 520g bread flour
- 2 cups 260g all-purpose flour
- 2 tsp 12g fine sea salt
- 1 tbsp 12g sugar
- 2 ¼ tsp 7g instant yeast
Instructions
- Add ingredients to bread machine pan in order listed (liquid first, yeast last).
- Select “French Bread” cycle or “Basic” with medium crust setting.
- After final knead (about 20 min in), pause to check dough consistency – should be slightly tacky but not sticky.
- When cycle completes, immediately remove loaf to cooling rack.
- For extra crispness: Preheat oven to 450°F with baking stone. Spritz loaf with water and bake 5-7 minutes.
Notes
Nutrition
The Forbidden Bread Machine Secrets
(Or, What Pierre Whispered Before He Left)
- Steam is Your God Now: No fancy oven? Spritz loaf with water mid-bake. Crust will crisp like autumn leaves.
- Hydration = Swagger: Higher water content (65-75%) = bigger air pockets. Wet dough is good dough.
- Poolish, Not Polish: Mix ½ cup flour + ½ cup water + pinch yeast. Let it ferment overnight. Add to dough. Boom flavor depth.
Mistakes Even Smart People Make
(Aka: My Hall of Shame)
- Over-Proofing: Letting dough rise too long = deflated dreams. Trust the machine’s timer.
- Killing Yeast with Fire: Water over 110°F? You’re making yeast soup. Use a thermometer.
- Flour Fails: Cake flour in bread = limp disaster. Bread flour or bust.
Epilogue: The Morning Pierre Asked for Seconds
When Pierre left, he took two loaves and my “recipe cheat sheet.” His final words? “Peut-être les machines ne sont pas si mauvaises.” (“Maybe machines aren’t so bad.”)
So, dear reader, dust off that bread machine. Play French café music. Bake a loaf, crack the crust, and let the crumbs fall where they may. yes, you can make bread worthy of a Parisian side-eye… and turn it into a standing ovation.
Your Homework: Bake the brioche. Send me a photo. Tag it #BreadMachineBetrayal. Let’s start a rebellion.