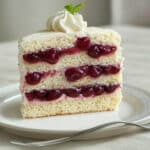
Quick & Tasty Mother’s Day Dinner Ideas to Make Her Day

Mother’s Day is that one special day of the year when we get to shower the amazing moms in our ...
Read more
The Ultimate Guide to Deviled Eggs Recipes, Tips, and Easter Ideas
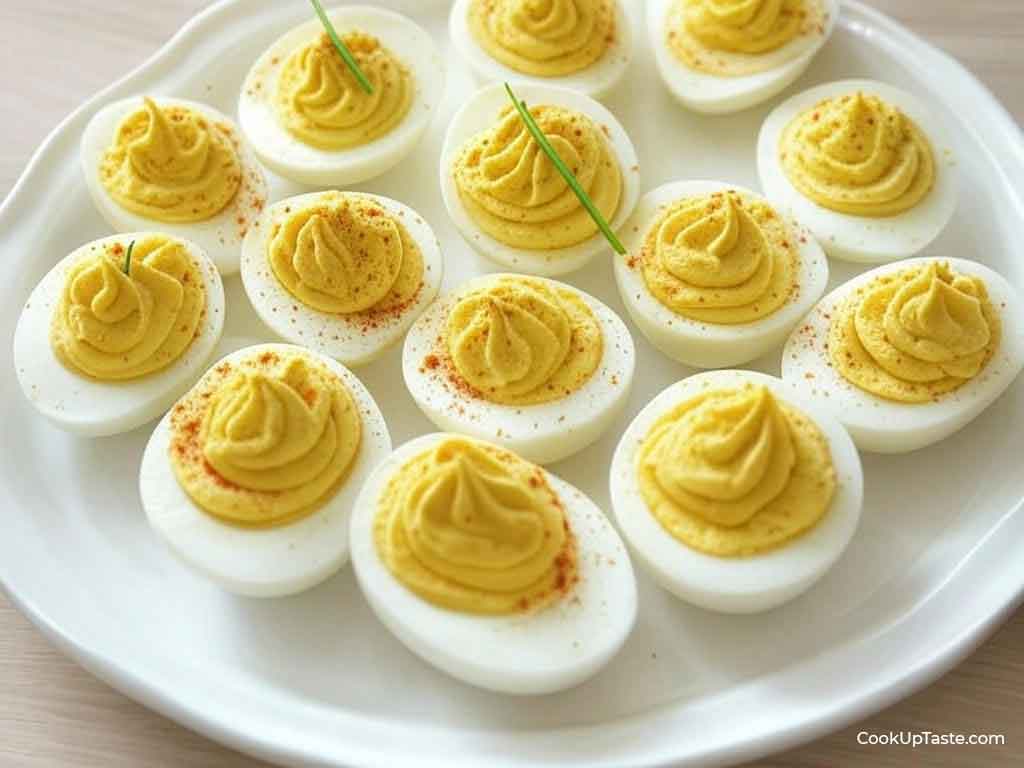
Deviled eggs are a timeless classic that never fails to impress. Whether you’re preparing for an Easter dinner, a family ...
Read more
Sip into Spring with This Delightful Azalea Cocktail Recipe

I’ll never forget the first time I tried an Azalea Cocktail Recipe. It was at a friend’s backyard bash, the ...
Read more
Best Charoset Recipe: Sweet, Symbolic, and Simple
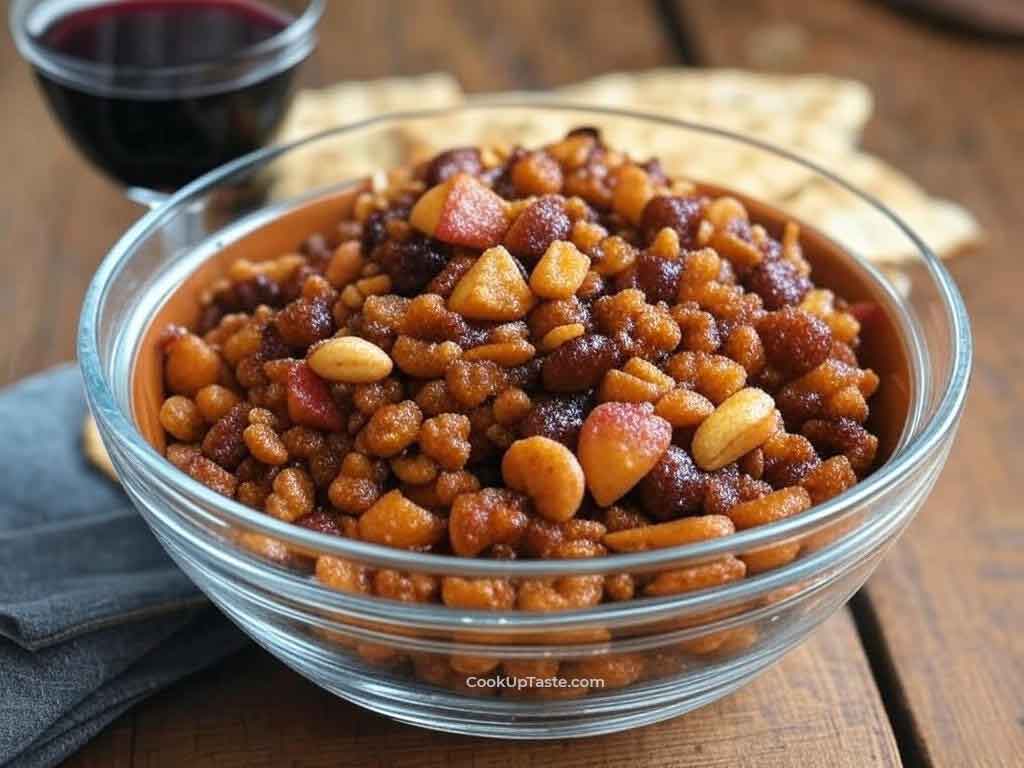
Hey there! If you’ve ever wondered about a dish that’s as rich in history as it is in taste, let ...
Read more
Jelly Roll’s Weight Loss Journey: Dropped 100+ lb, Recipe That Fueled His Success

Hey there! If you’re a fan of country music, you’ve probably heard of Jelly Roll. This guy’s got a voice ...
Read more
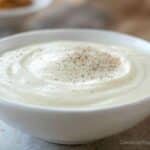
The Cream Sauce Base That Makes Everything Taste Expensive
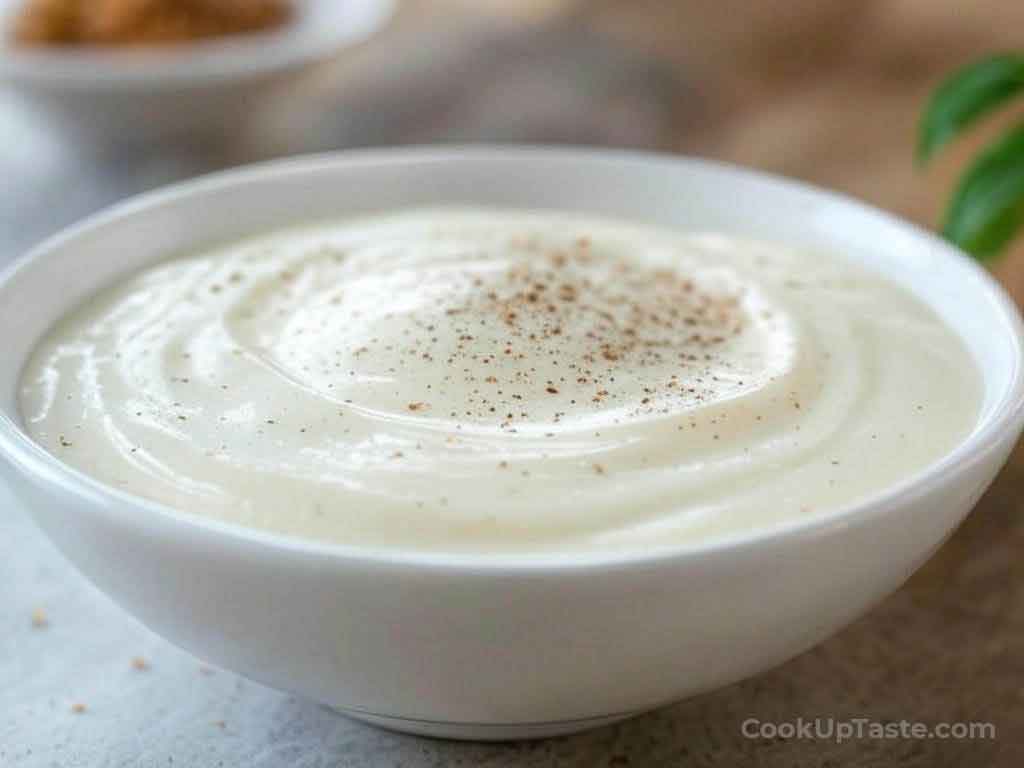
Let me take you back to a humid summer night in New Orleans, where I first learned the soul of ...
Read more
The Green Bean Casserole Recipe Guide: Classic, Dairy-Free
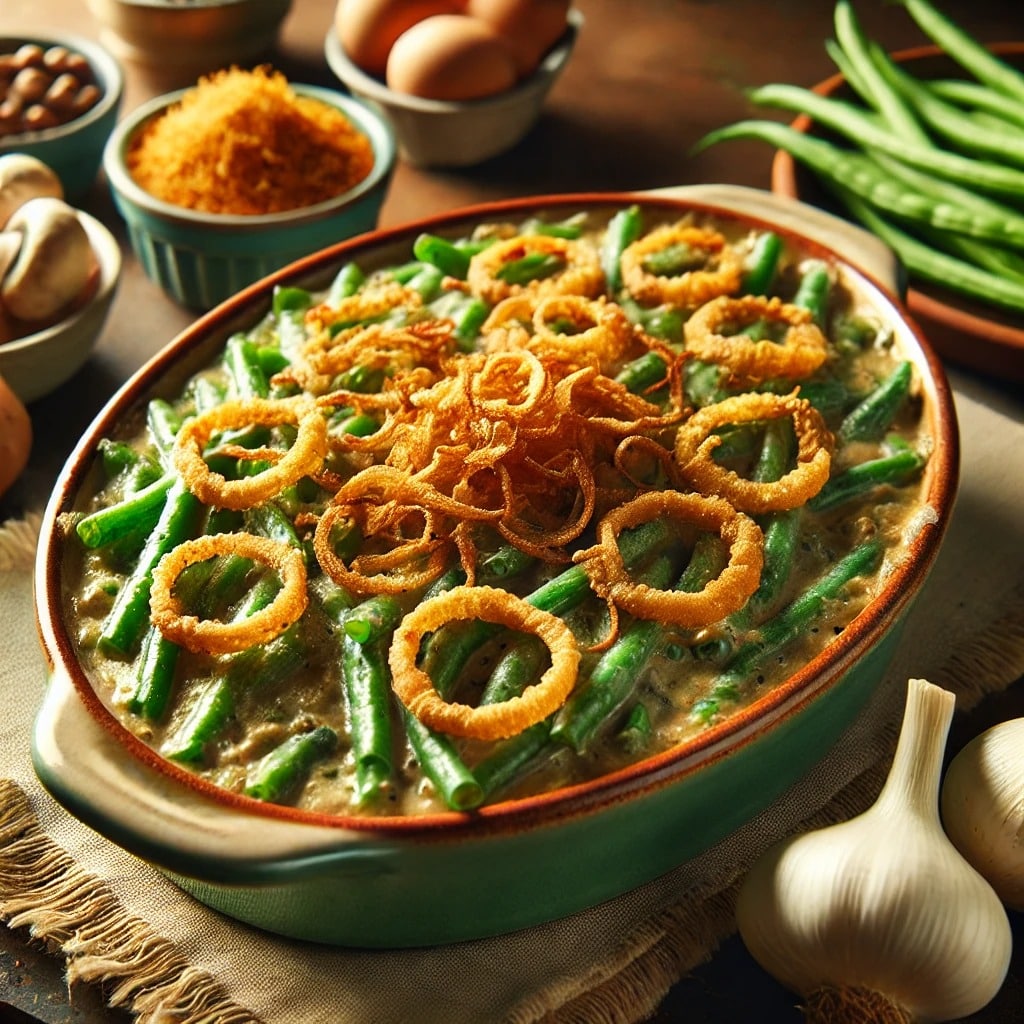
There is something magical about a dish that bridges generations, and green bean casserole does just that. Whether it is gracing your ...
Read more
With love, meghan recipes Is Pure Comfort in Every Bite
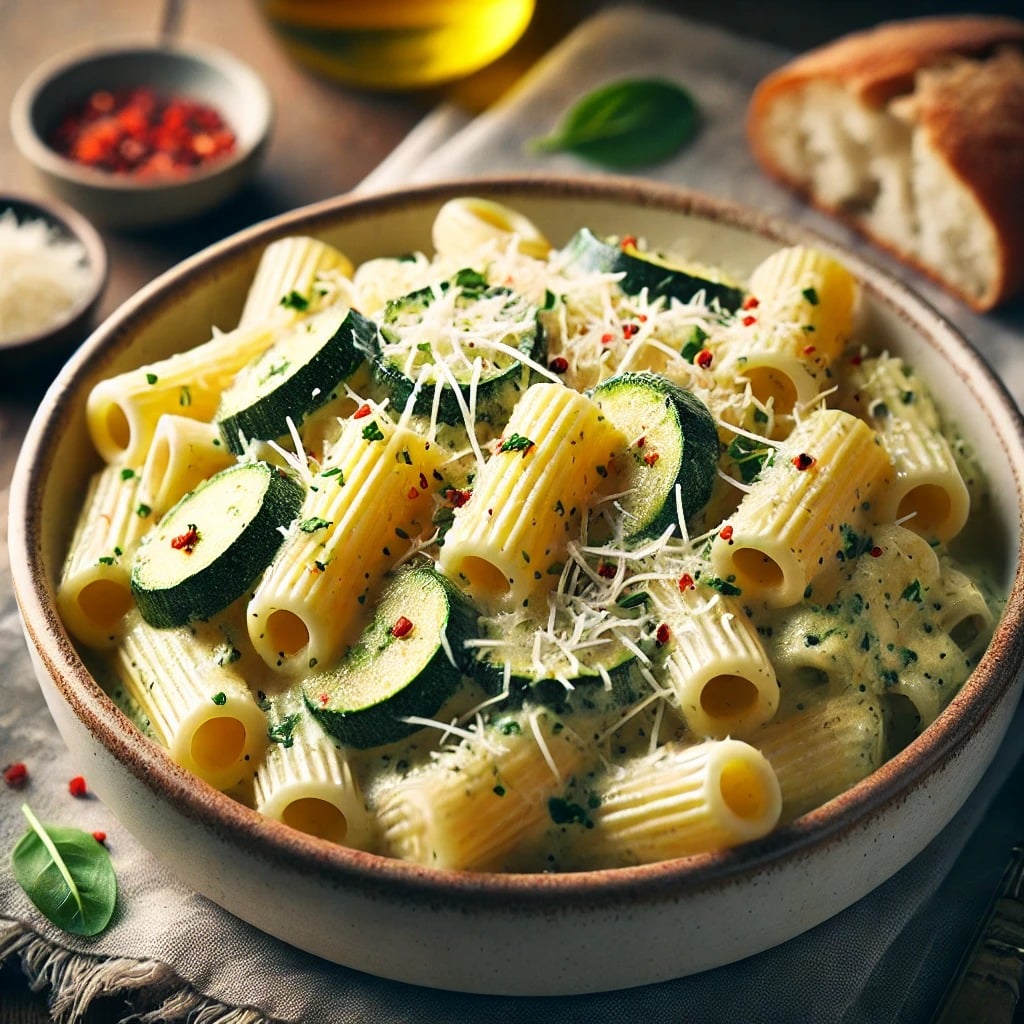
Meghan Markle’s approach to food isn’t just about flavor, it is about intention. As a Duchess mom, and advocate for ...
Read more
Creamy Cauliflower Cheese Recipe Everyone Will Love
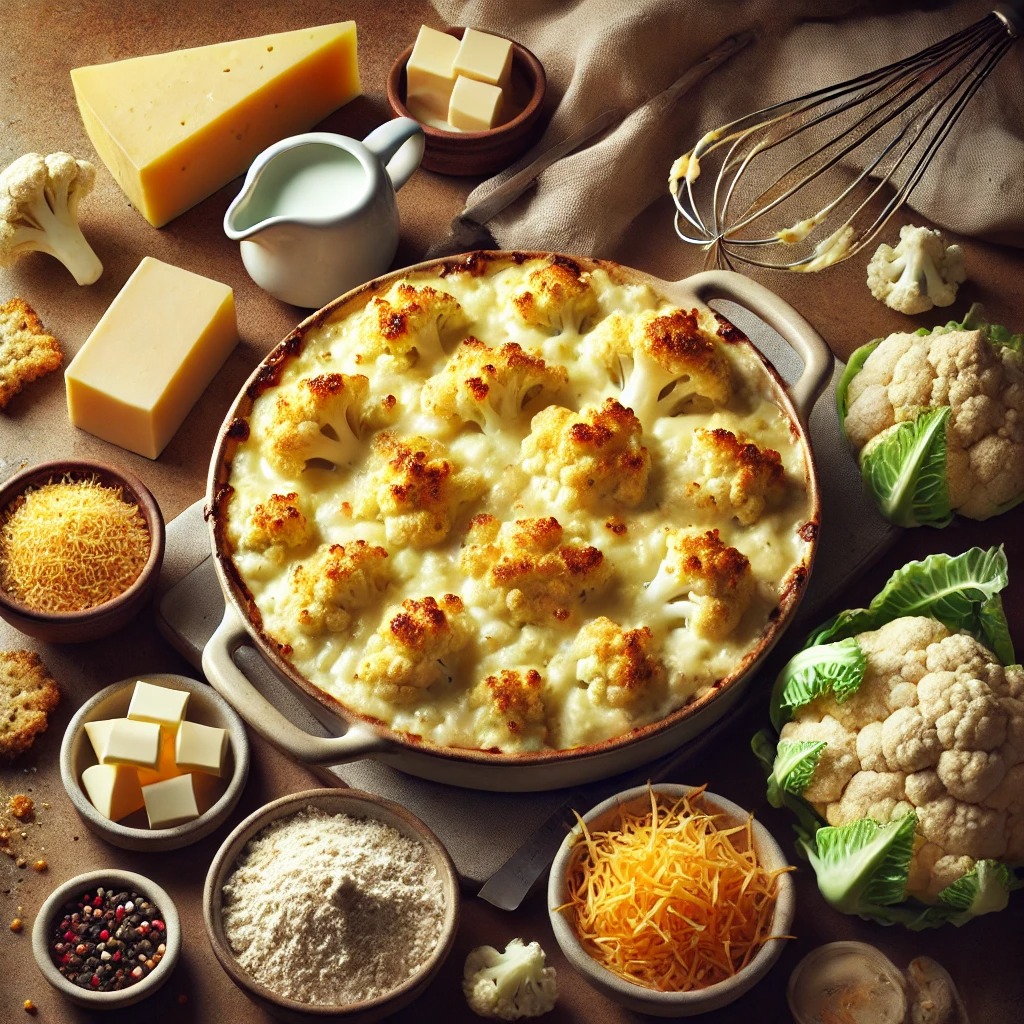
Hi. Today, we’re diving into a cozy, cheesy, and super-simple dish that’s perfect for family dinners or impressing your friends: Cauliflower ...
Read more
7 Tasty Leftover Rotisserie Chicken Recipes You’ll Love
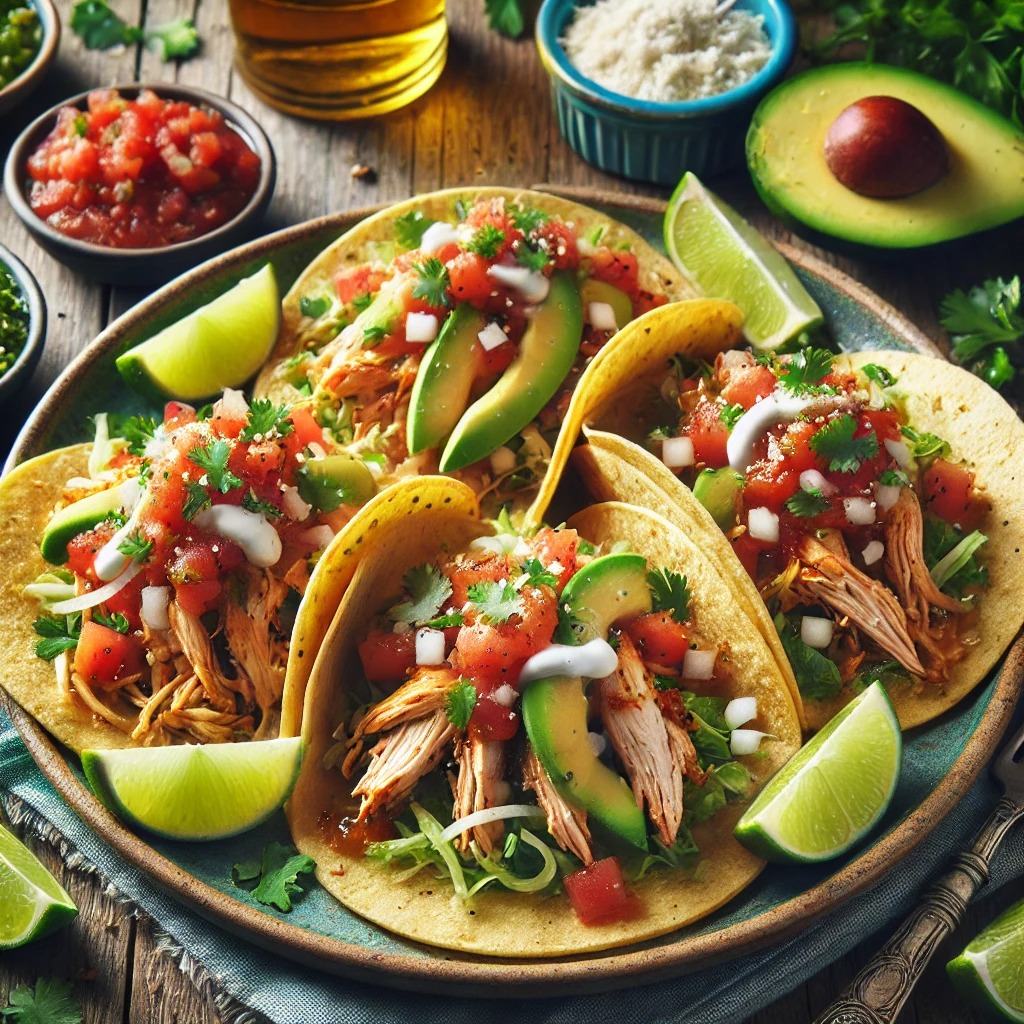
Hey kitchen adventurers! Remember that time you tried to turn leftover chicken into “gourmet ramen” and ended up with soup ...
Read more