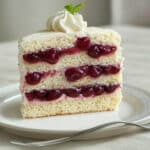
Heaven on Earth Cake: A Chef’s Guide to Divine Desserts
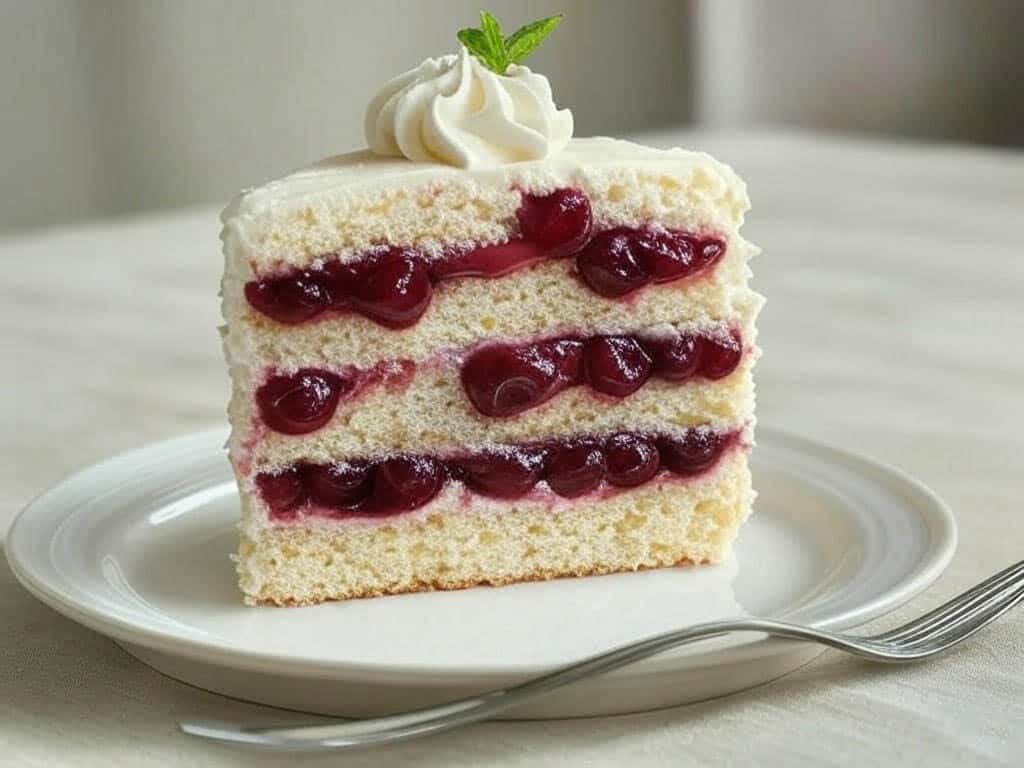
Hey dessert lovers! As a chef who spent years tinkering with recipes in the kitchen, I’m thrilled to share with ...
Read more
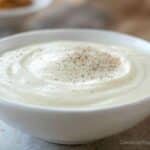
5 Must-Know Smoothie Recipes for Acid Reflux Relief

Let me tell you about the night I discovered acid reflux smoothie recipes would become my salvation. It was 2 AM, and ...
Read more
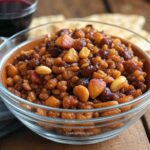
5 Easy Hummingbird Food Recipes That Actually Work
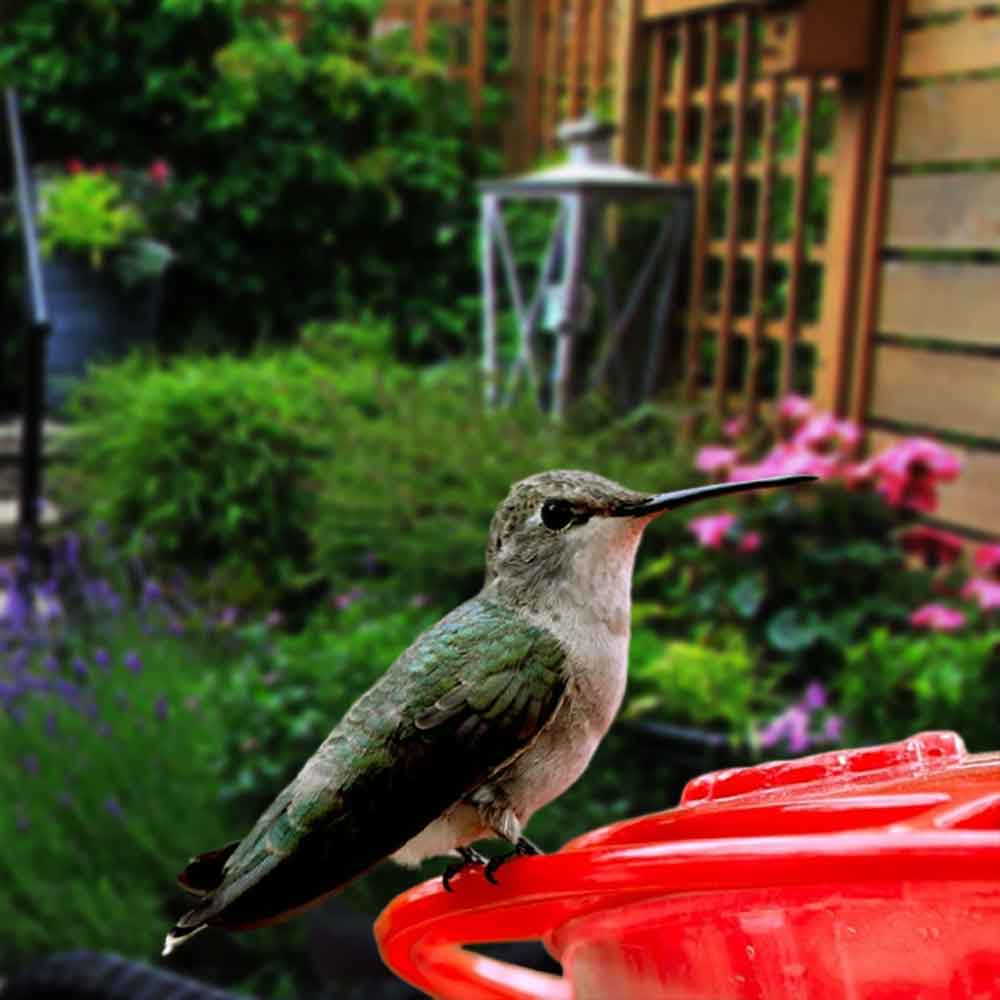
Let me tell you a little story. Last summer, I hung up a hummingbird feeder, filled it with store-bought red ...
Read more
Mastering the Art of Scaling: Key Considerations When Halving or Doubling a Recipe
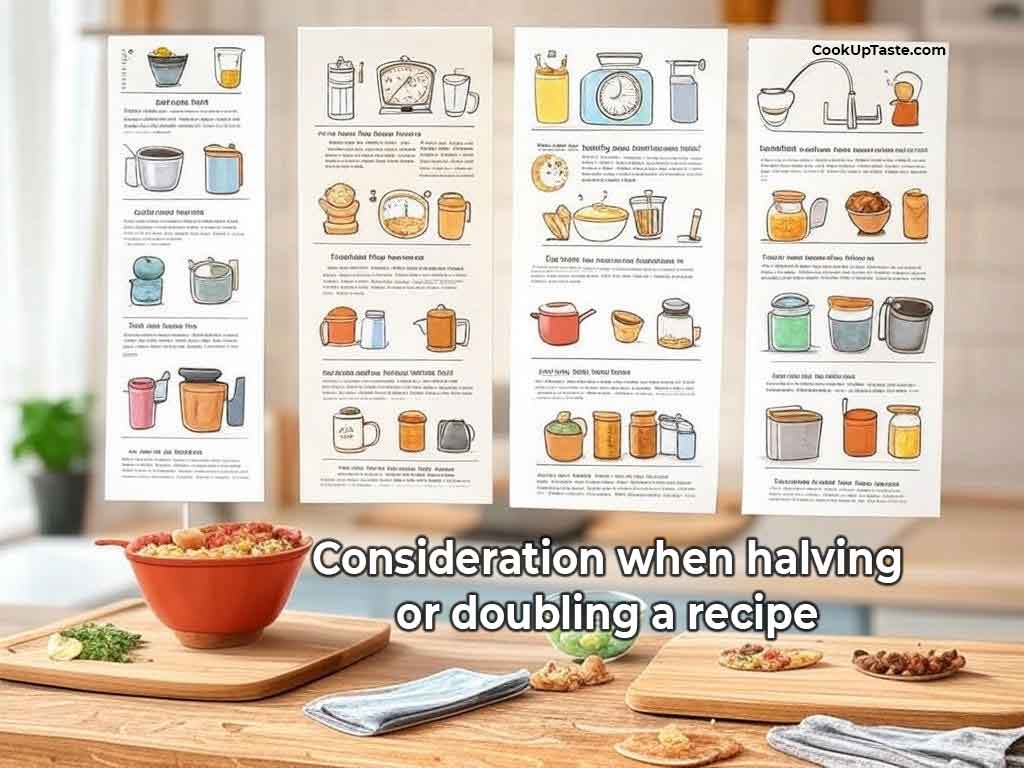
When I first started cooking, I often found myself wrestling with recipes that didn’t quite work when scaled. Whether I ...
Read more
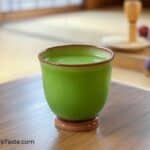
Lemon Balm Tea recipe for Weight Loss: A Natural Detox Drink
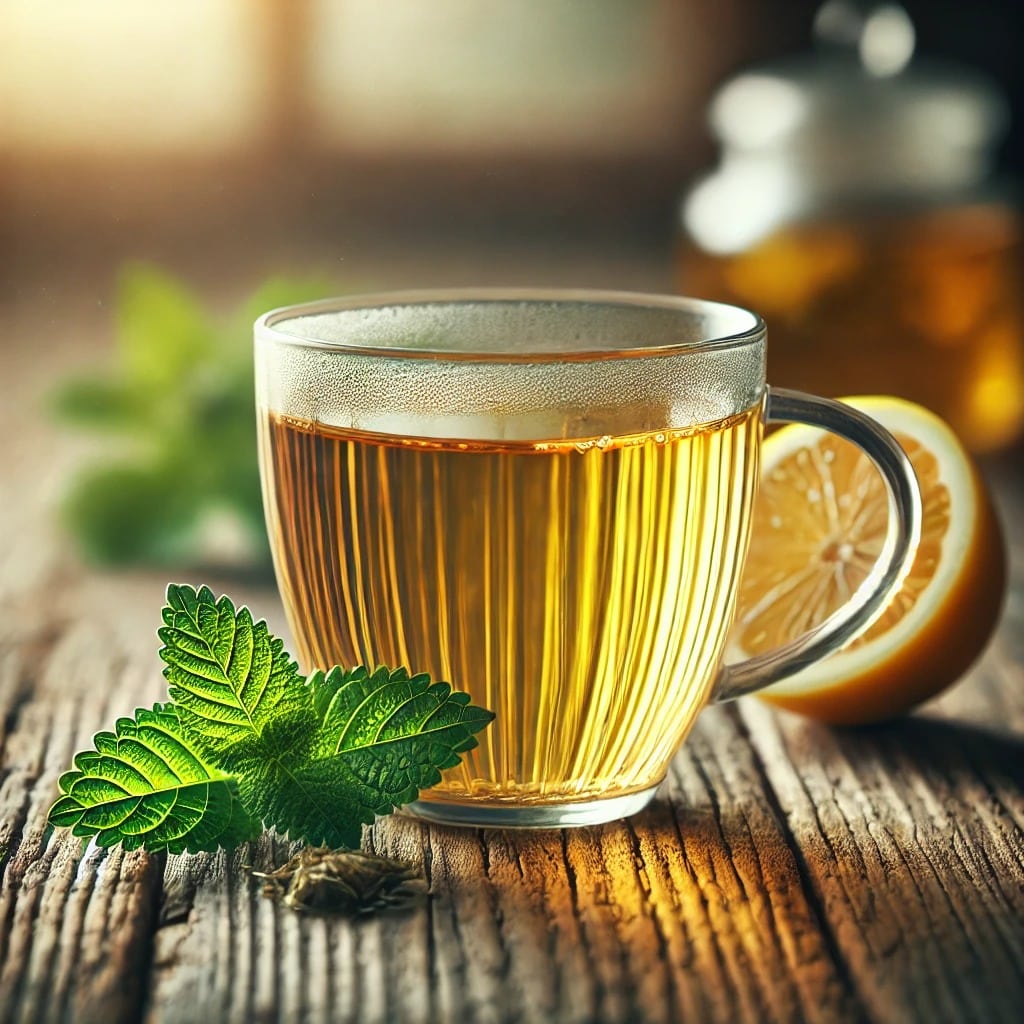
Stressed, bloated, and stuck in a weight loss rut, I discovered lemon balm recipe. What started as a simple herbal ...
Read more
Turmeric Trick for Weight Loss: Golden Sunrise Metabolism Elixir
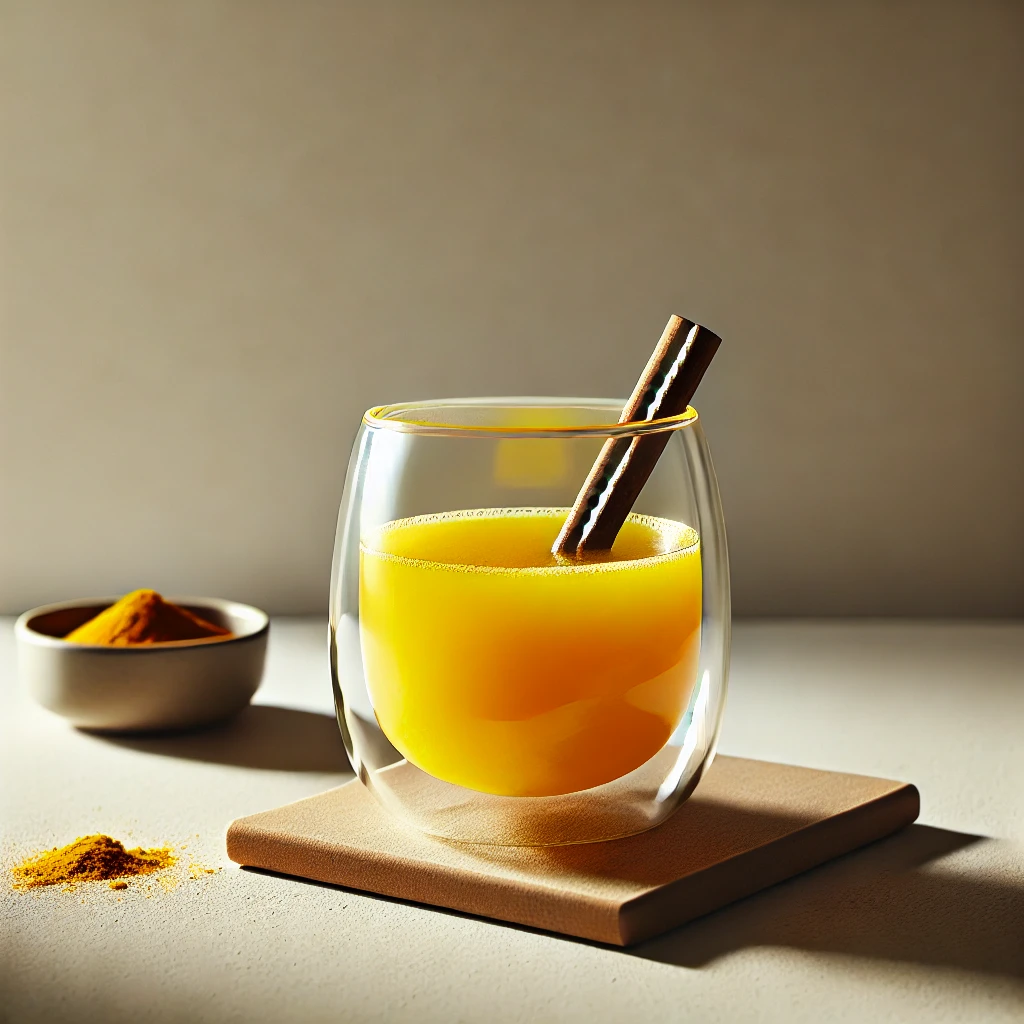
Boost your day with this vibrant, science-backed The Turmeric Trick for Weight Loss drink that melts stubborn fat, fights inflammation, ...
Read more
Frito Lay Potato Chips Recall: A Step Toward Safer Snacks
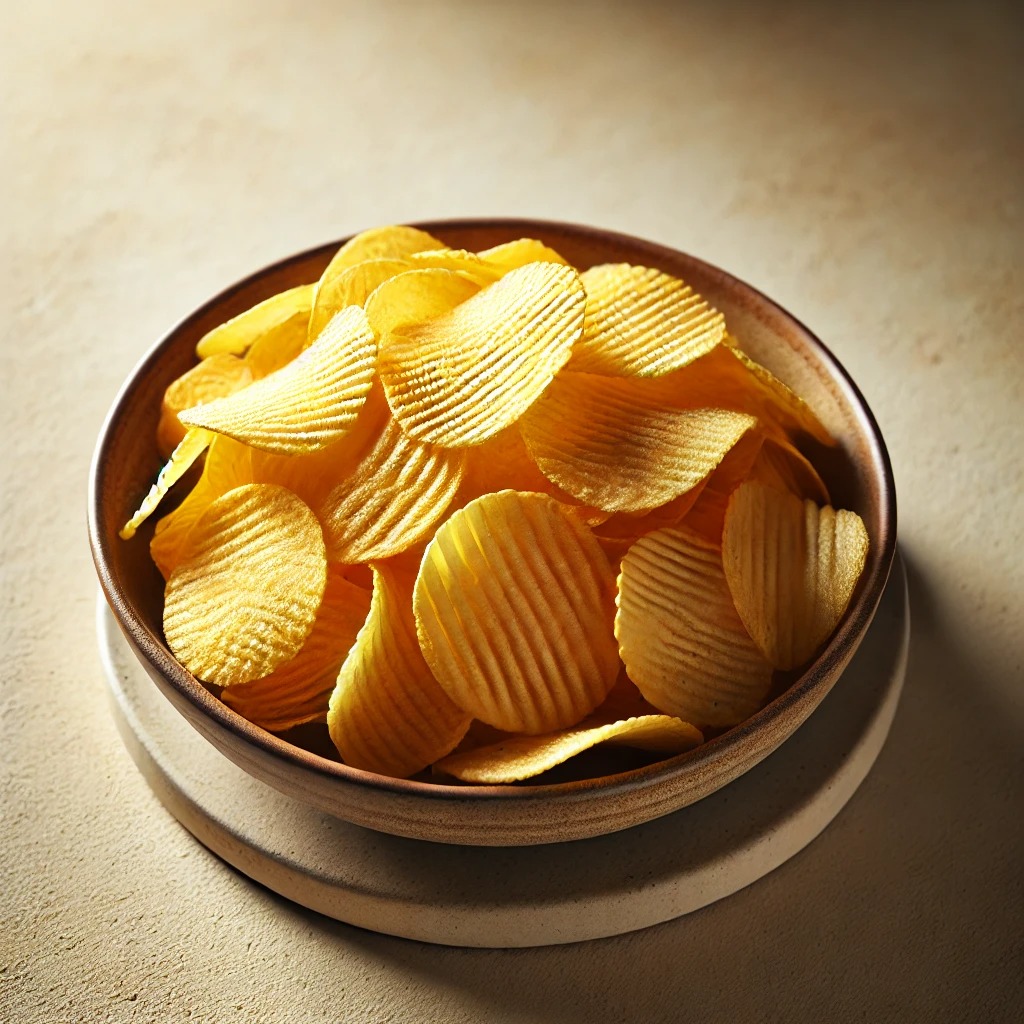
Food safety is a crucial concern for consumers and companies alike. Recently, a Frito Lay potato chips recall was issued ...
Read more