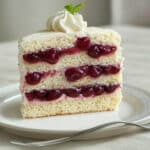
From Crème Fraîche to Tart Heaven
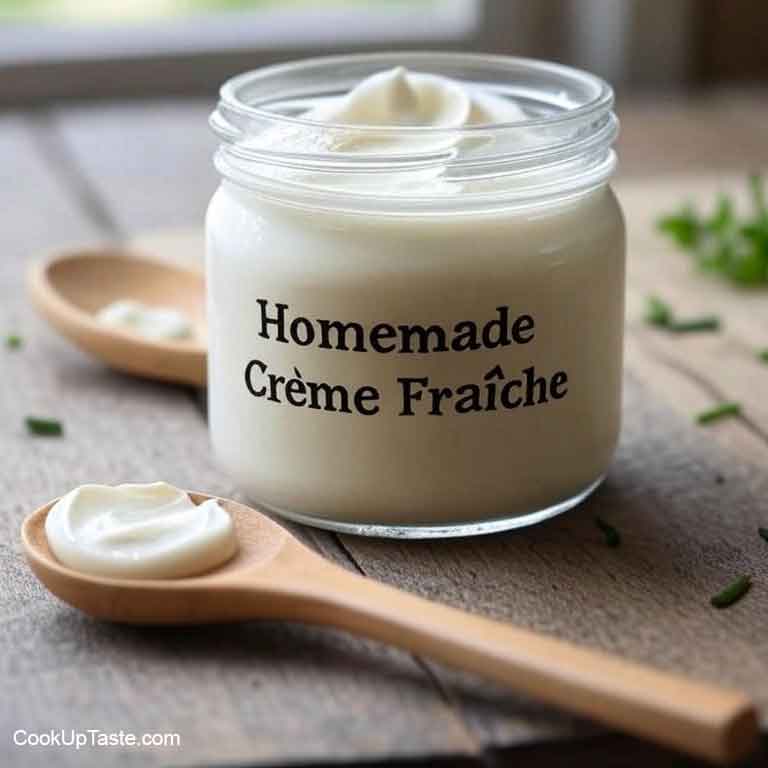
Hello, little cooks! I’m a chef who loves making yummy food and telling fun food stories. Today, we’re going to ...
Read more
Ugadi Pachadi Recipe: The Ancient Science of Six Tastes
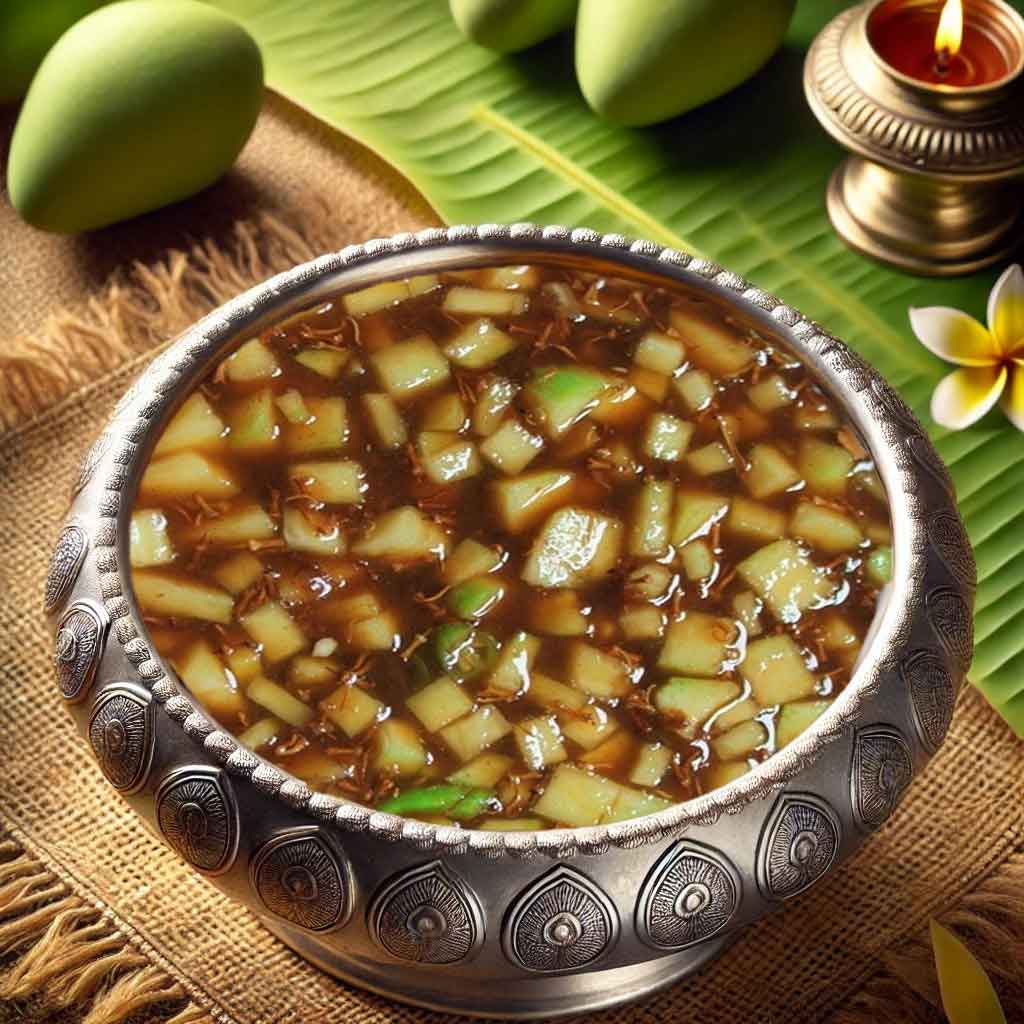
As the scent of mango blossoms fills the air, Telugu homes come alive with Ugadi celebrations. And what’s Ugadi without ...
Read more
Cream Sauce Base HelloFresh Recipe: Easy & Delicious
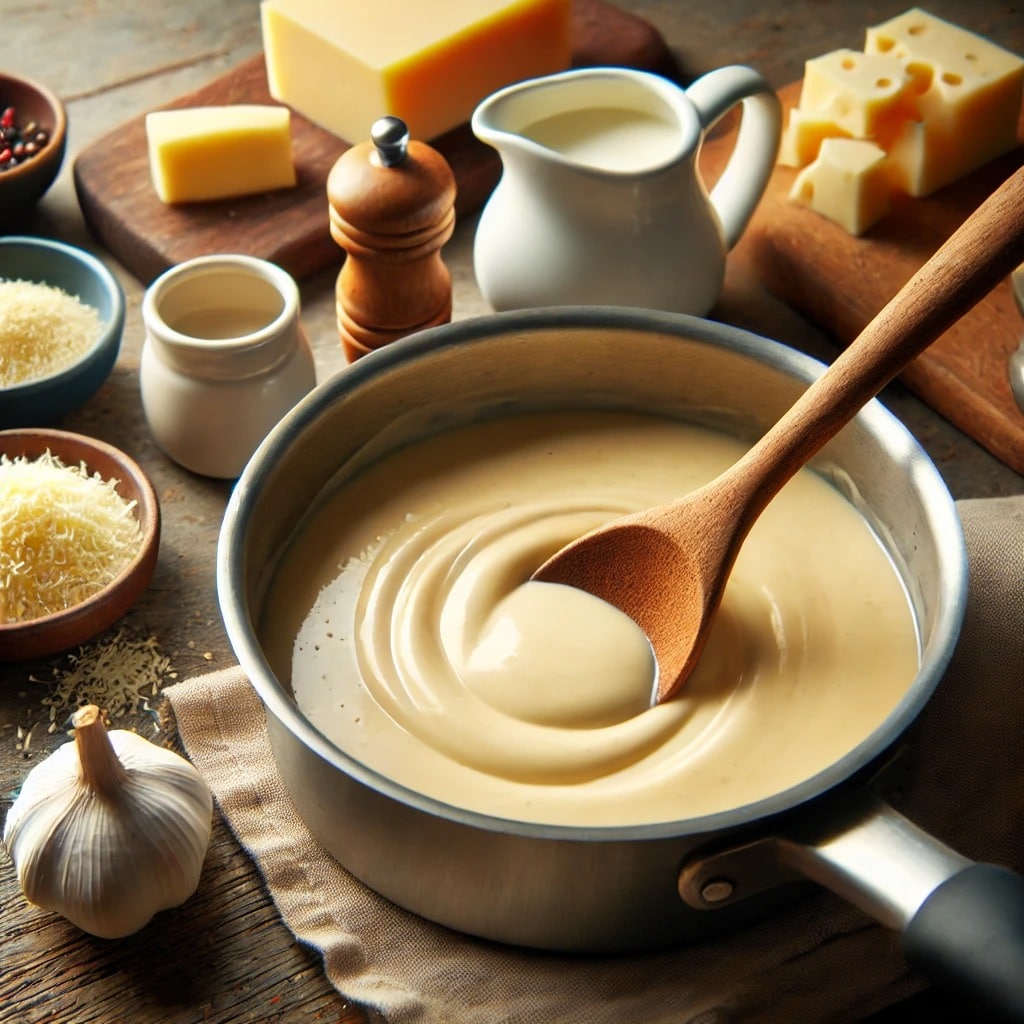
As a chef who’s spent years decoding the secrets behind beloved meal kits, I’ve always admired HelloFresh’s ability to turn ...
Read more
How to Make Onion Ring Chips Recipe with Just 2 Ingredients

Let me take you back to a rainy afternoon in my tiny apartment kitchen, where the smell of sizzling onions ...
Read more
Make Your Own Dill Pickle Hot Cheetos at Home

This dill pickle hot cheetos recipe is very simple. I used common ingredients that you can easily find at any ...
Read more
10 Easy 20 oz Crock Pot Recipes for Delicious Meals
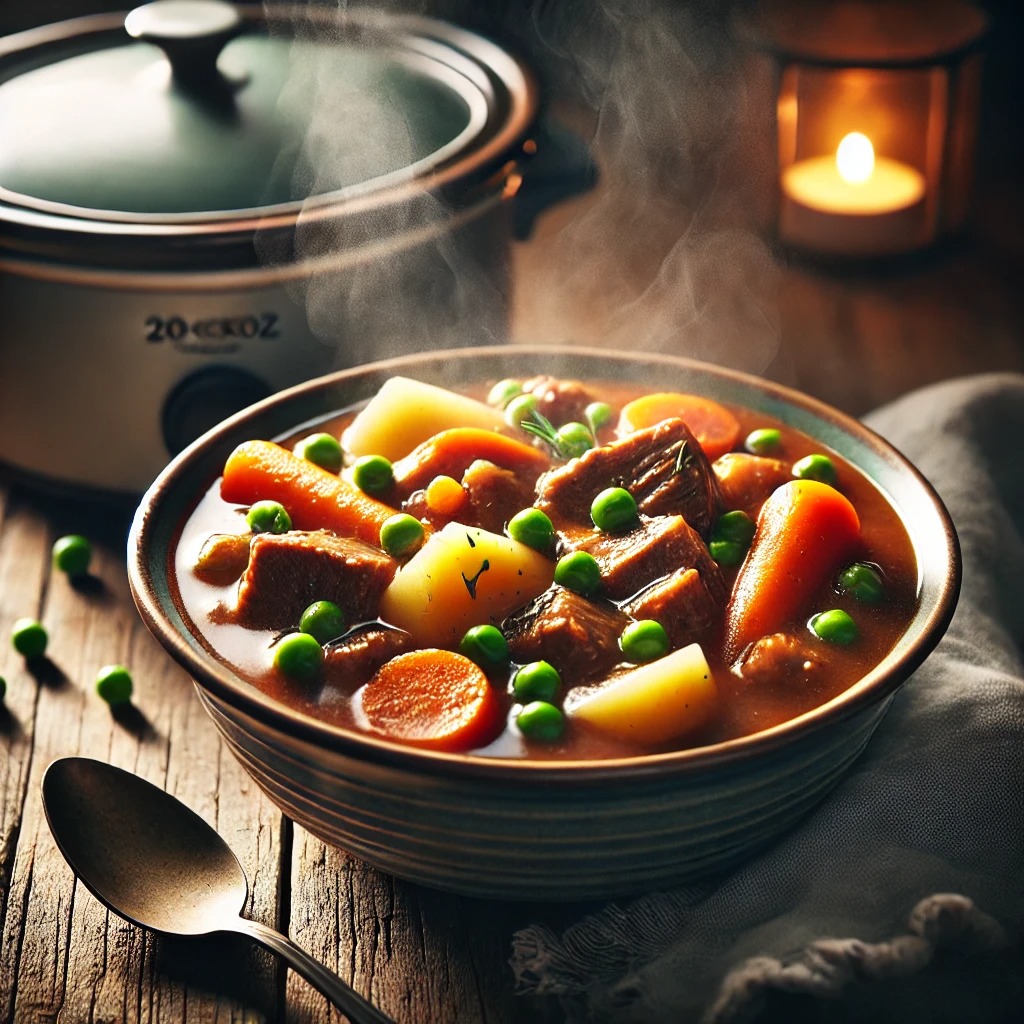
Imagine coming home to a perfectly cooked, flavorful meal without the hassle of long prep times or excessive cleanup. That’s ...
Read more
How to Make the Crispiest Air Fryer Breaded Chicken Breast
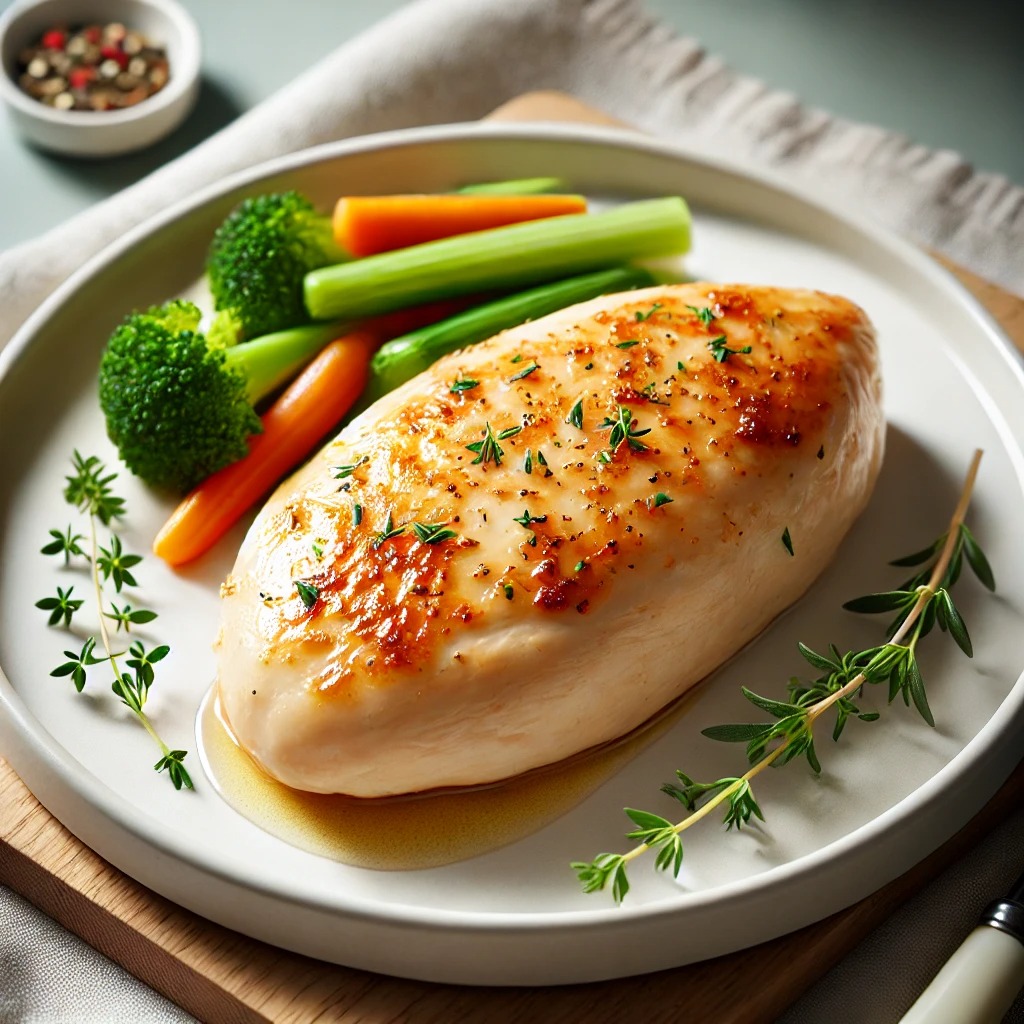
Imagine the perfect crunch, a burst of flavor, and a healthier twist on your favorite fried chicken dish—all achieved in ...
Read more
10 Insanely Delicious Recipes You’ve Never Heard of (But Need to Try Now!)
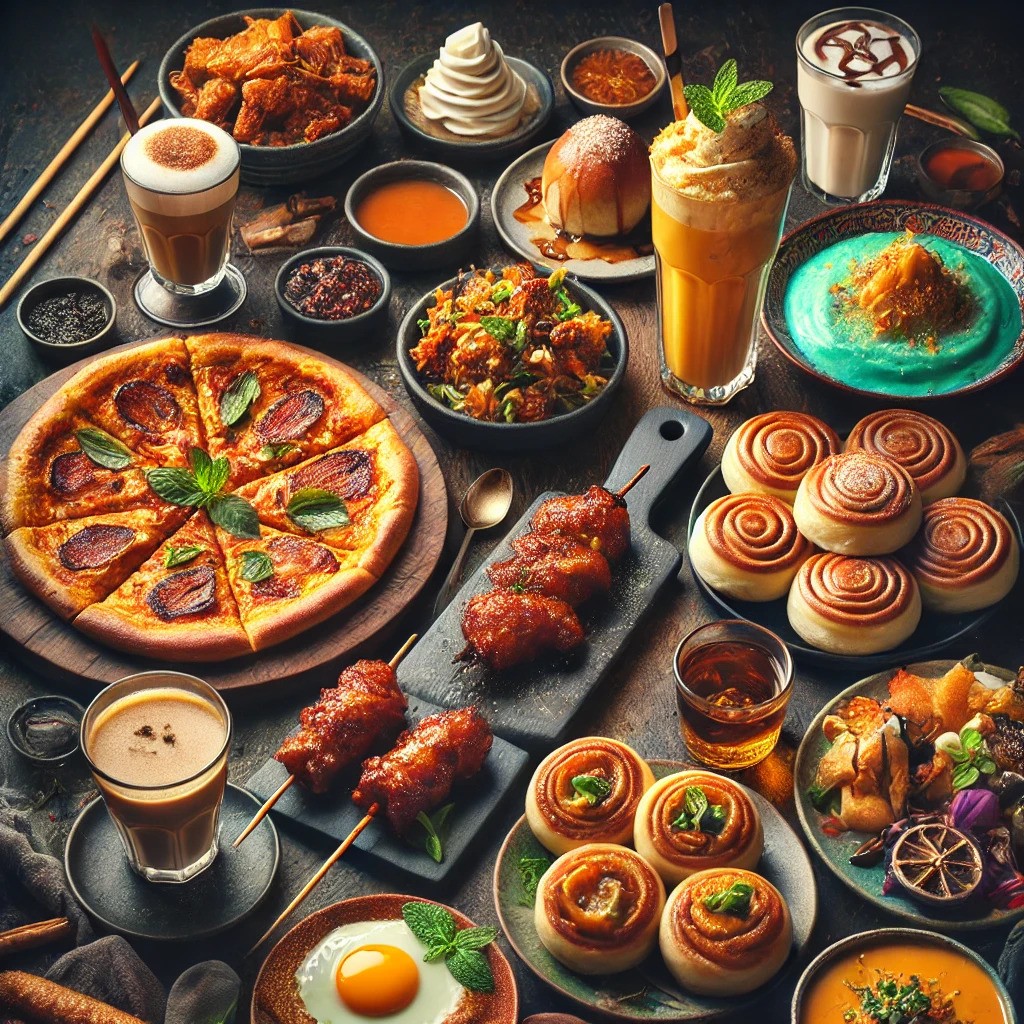
10 Insanely Delicious Recipes You’ve Never Heard of (But Need to Try Now!) Food blogs are filled with countless recipes, ...
Read more
Low-Calorie, High-Protein: 15 Cottage Cheese Recipes Are a Must-Try
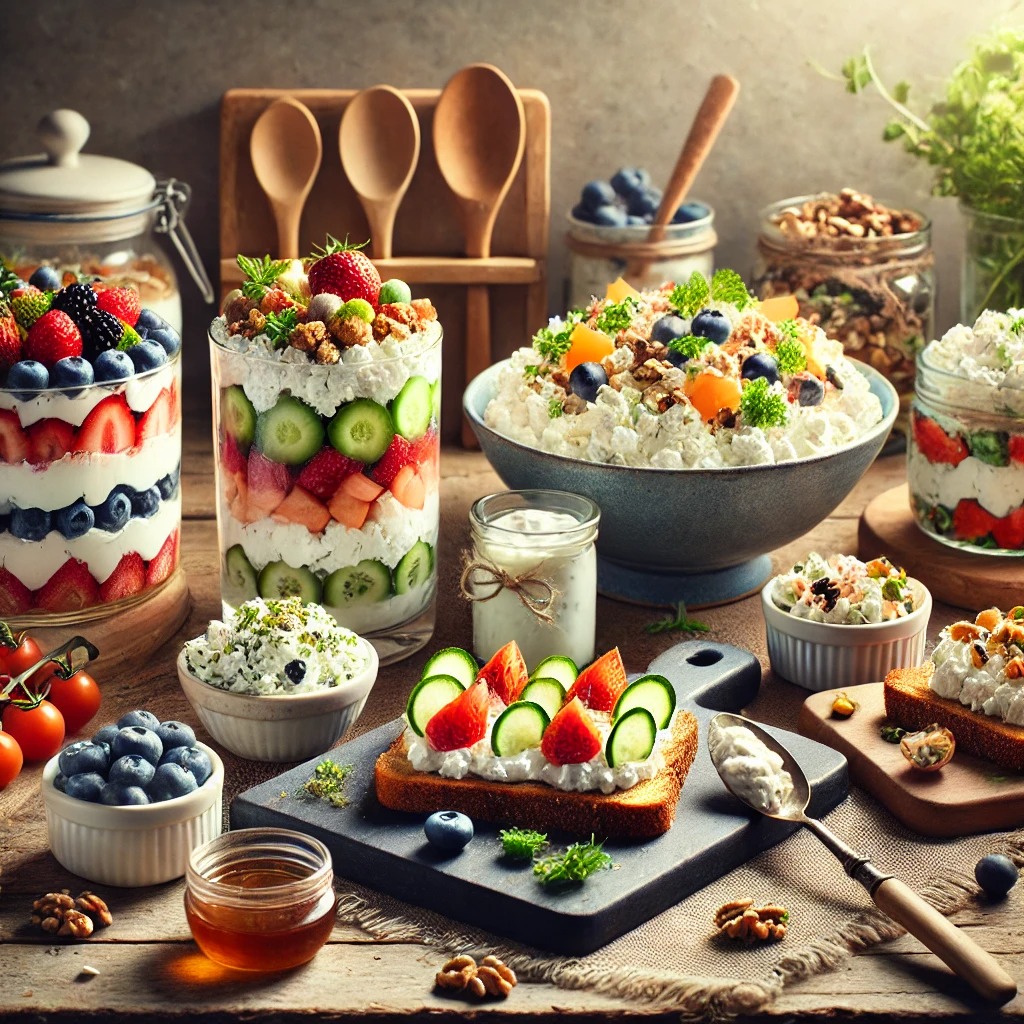
Cottage cheese is a versatile, protein-packed ingredient that can transform your meals from ordinary to extraordinary. Whether you’re looking for ...
Read more
7 Tasty Leftover Rotisserie Chicken Recipes You’ll Love

Hey kitchen adventurers! Remember that time you tried to turn leftover chicken into “gourmet ramen” and ended up with soup ...
Read more