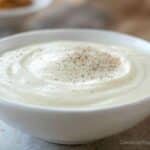
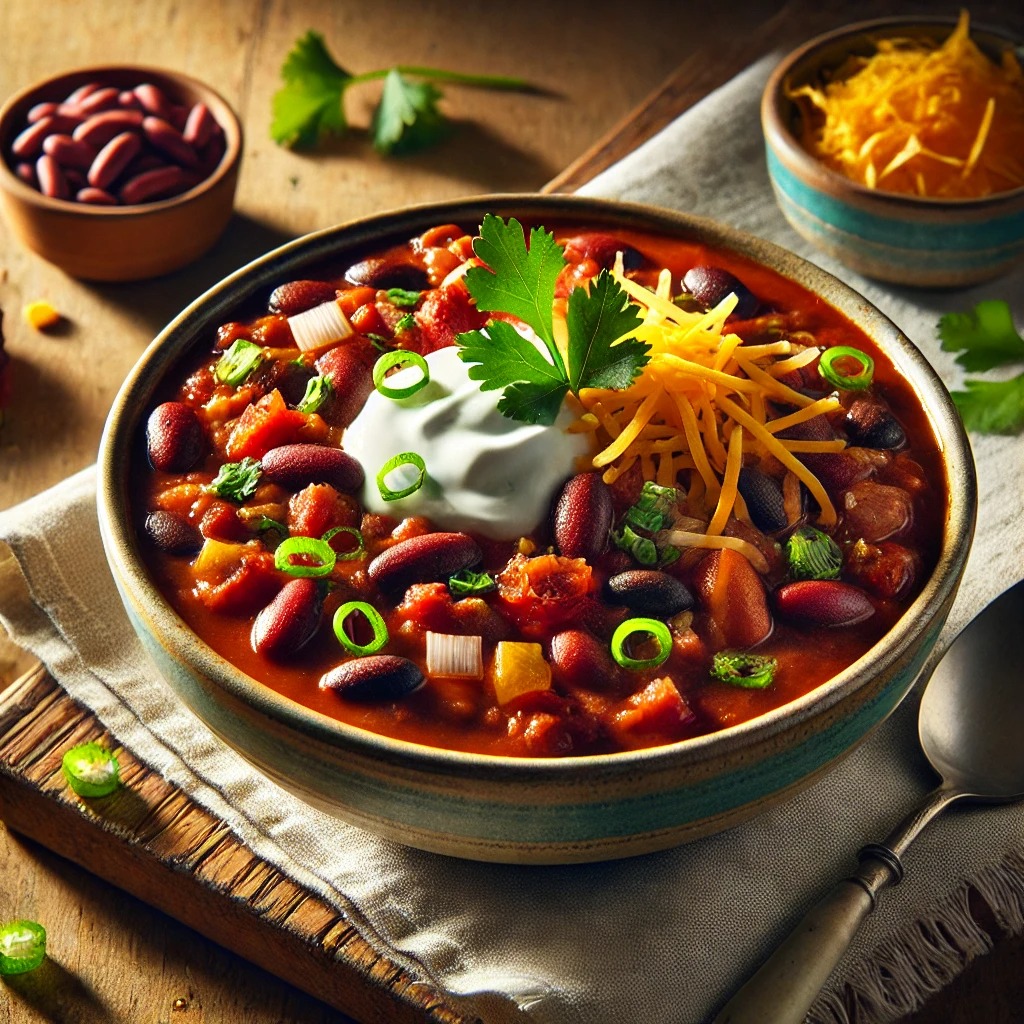
The Bone Broth Guide: Recipes, Tips, and Unexpected Twists

Bone broth recipe nms has taken the culinary world by storm, and honestly, I get why. There’s something magical about ...
Read more
Healthy, Creamy & Garlicky: tzatziki sauce recipe That Wows
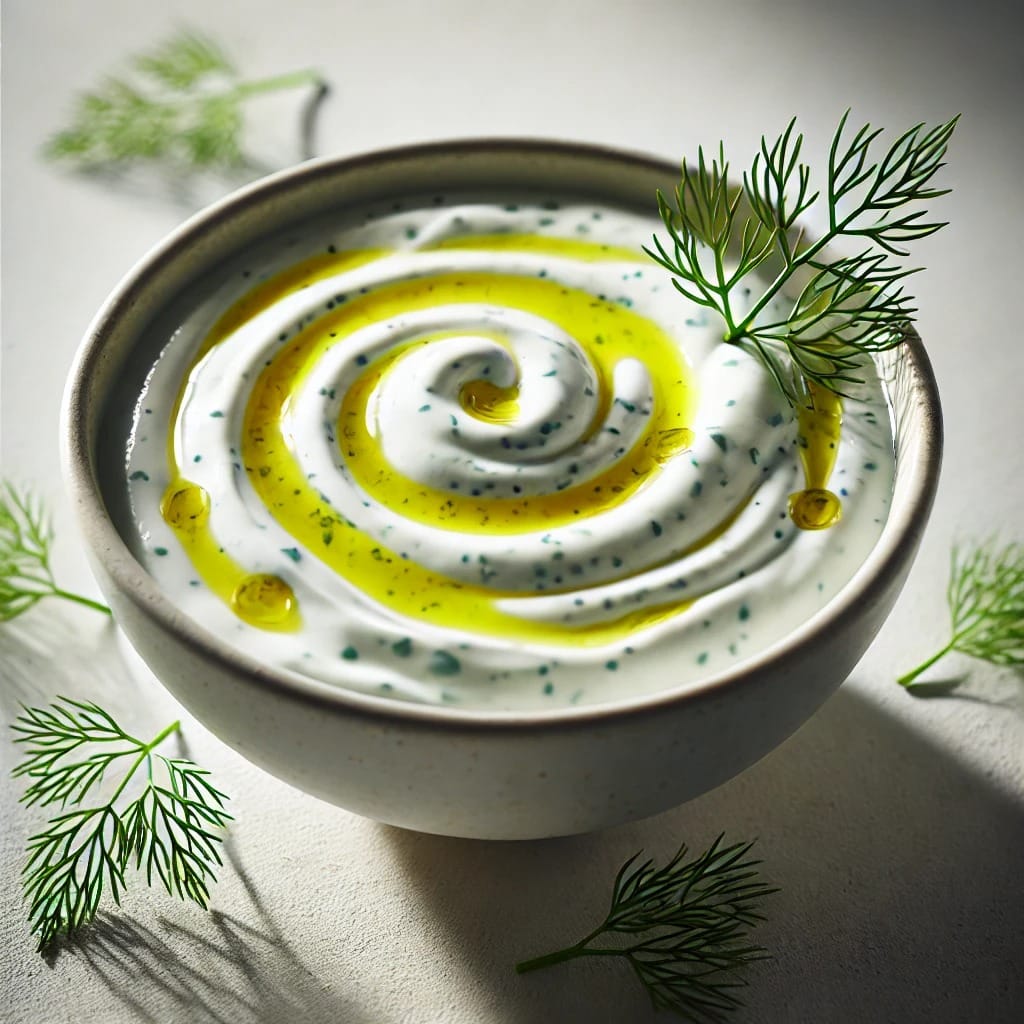
I’ll never forget the first time I tasted real tzatziki sauce recipe. I was sitting at a wobbly table in a tiny ...
Read more
Natural mounjaro recipe for weight loss
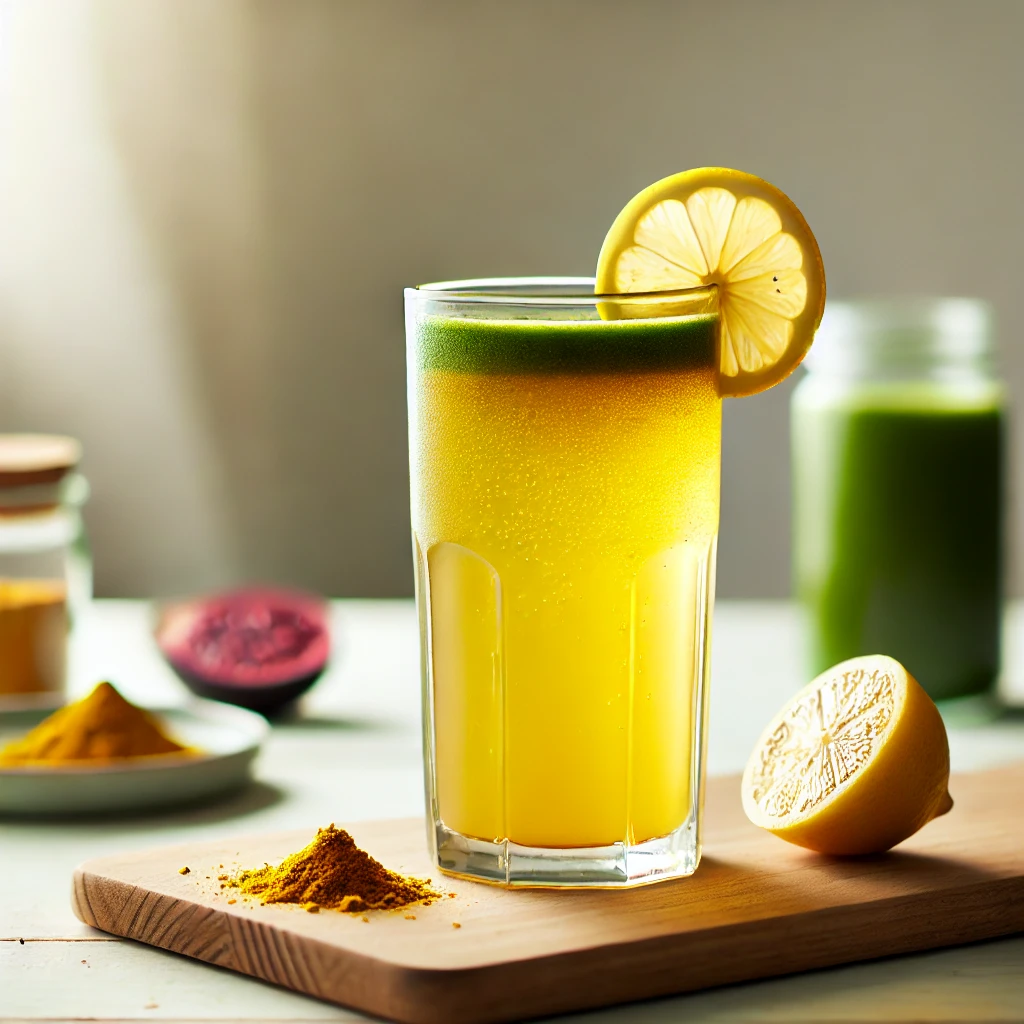
Why This Recipe Works Let’s get real, Mounjaro (brazilian mounjaro or tirzepatide) is a powerful tool for weight loss, but ...
Read more
KCD2 Potion Recipes Are Blowing Up! Every Alchemist Must Try

Welcome, potion enthusiasts and culinary adventurers! If you’ve ever wondered how to brew magical concoctions, then you’re in the right ...
Read more
Fluffy Pancakes Like Never Before – The Ultimate Recipe

The Secret to Perfect Pancakes – Fluffy, Golden, and Irresistible! Pancakes are a breakfast staple loved by millions worldwide, but ...
Read more
Blue Salt for Men: The Culinary Game-Changer Everyone’s Talking About
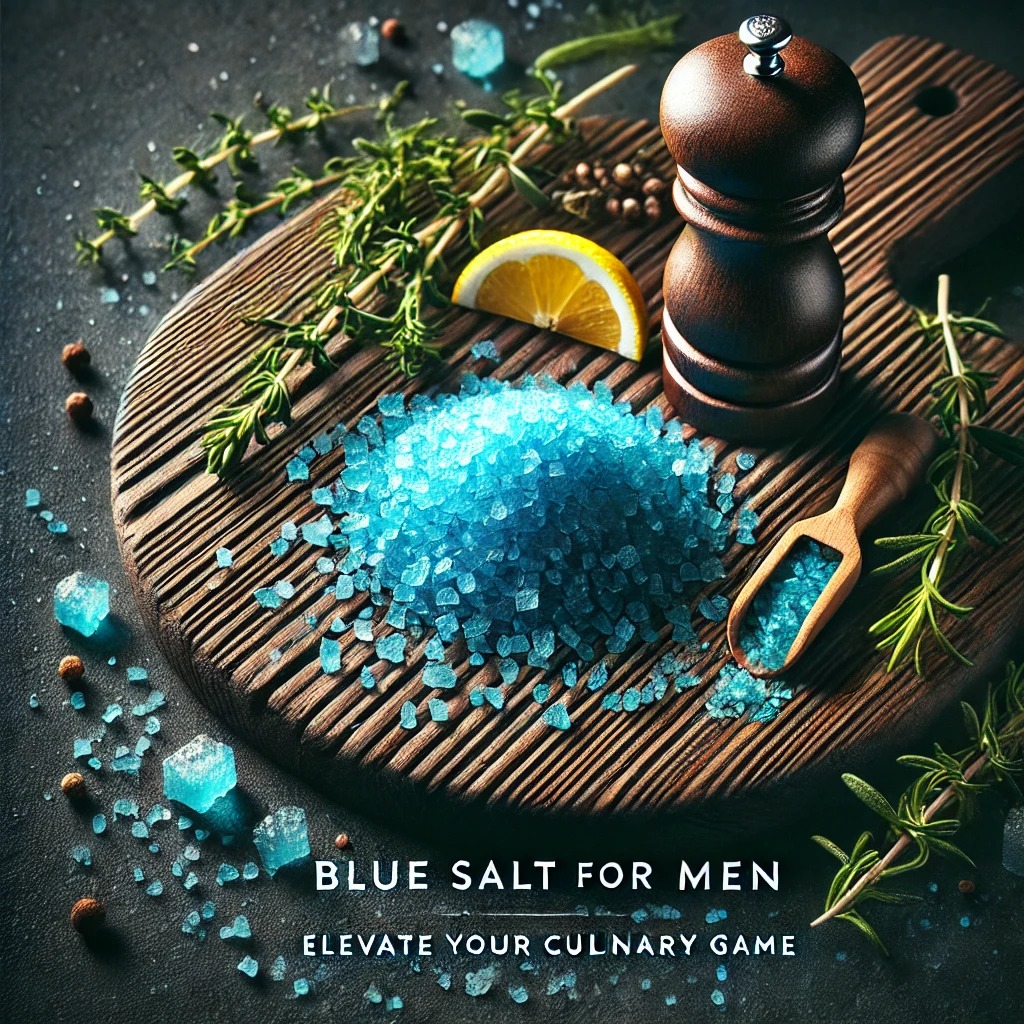
When it comes to refining your culinary skills, it’s the small touches that make the biggest difference. Enter blue salt ...
Read more
Affordable Yet Delicious: Passionate Penny Pincher Recipes
Cooking on a budget doesn’t mean sacrificing flavor. With a little creativity and know-how, anyone can enjoy hearty, delicious meals ...
Read more
Sourdough Discard Pizza Dough: The Perfect Recipe for Crisp, Flavorful Crust
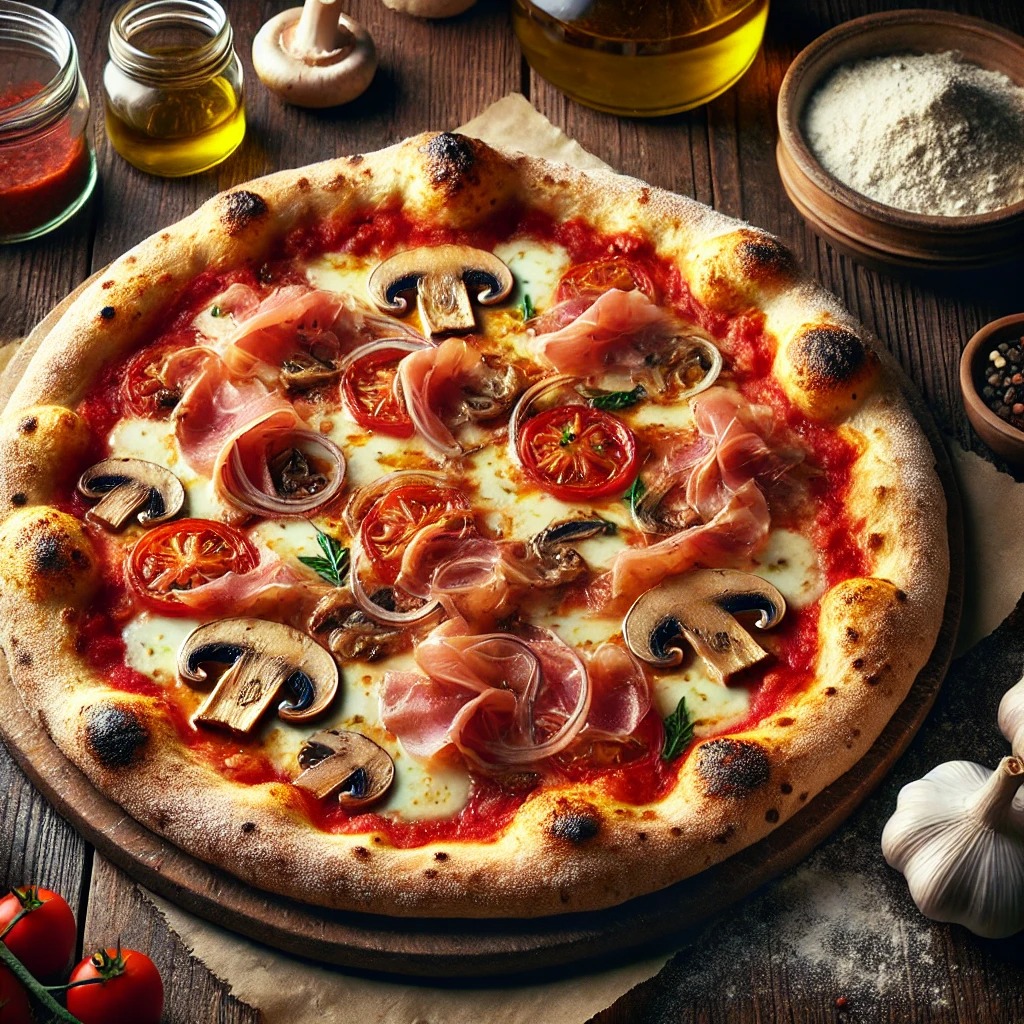
One day, I was cleaning my fridge and found a jar of sourdough discard. (That’s the leftover sourdough starter you ...
Read more