Hey! Today, I’m spilling the beans on my Slaps Cheesy Corn Recipe, a dish so ridiculously tasty, it’s earned permanent “family legend” status in my home. But this is not just cheesy corn, This recipe has a quirky backstory, a secret trick I’ve never shared publicly, and a flavor twist that’ll make you rethink corn forever. Let’s dive in!
Why This Recipe “Slaps” (And Why You’ll Never Make Corn the Same Way Again)
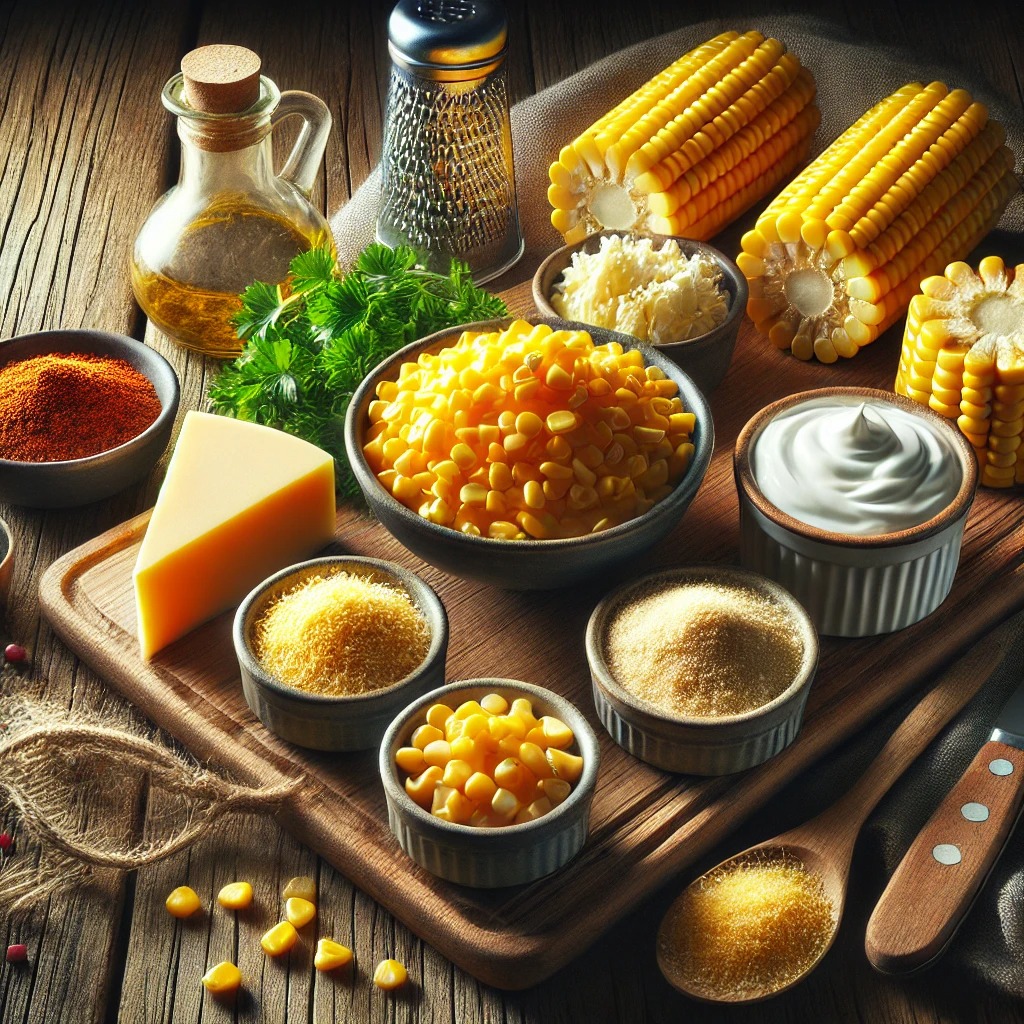
First off, why “slaps”? Picture this: You take a bite, your eyes widen, and you involuntarily slap the table because it’s that good. This dish is creamy, cozy, and packed with three types of cheese (yep, three!). But the real magic? It’s inspired by my time working at a farm-to-table diner in Vermont, where I learned a game-changing trick to boost corn’s natural sweetness. (Spoiler: You’ll never boil corn again after this.)
The Secret Behind theRecipe: A Chef’s Confession
Before we get cooking, let me share the story. Years ago, I worked at a tiny countryside restaurant where corn was king. One rainy night, a farmer dropped off a crate of freshly picked corn and said, “Chef, roast it, don’t boil it—trust me.” I tried his method, and BAM—the corn tasted 10x sweeter! That farmer’s advice became the backbone of this recipe. I added my spin with a trio of cheeses and a smoky hint of paprika. The rest? History.
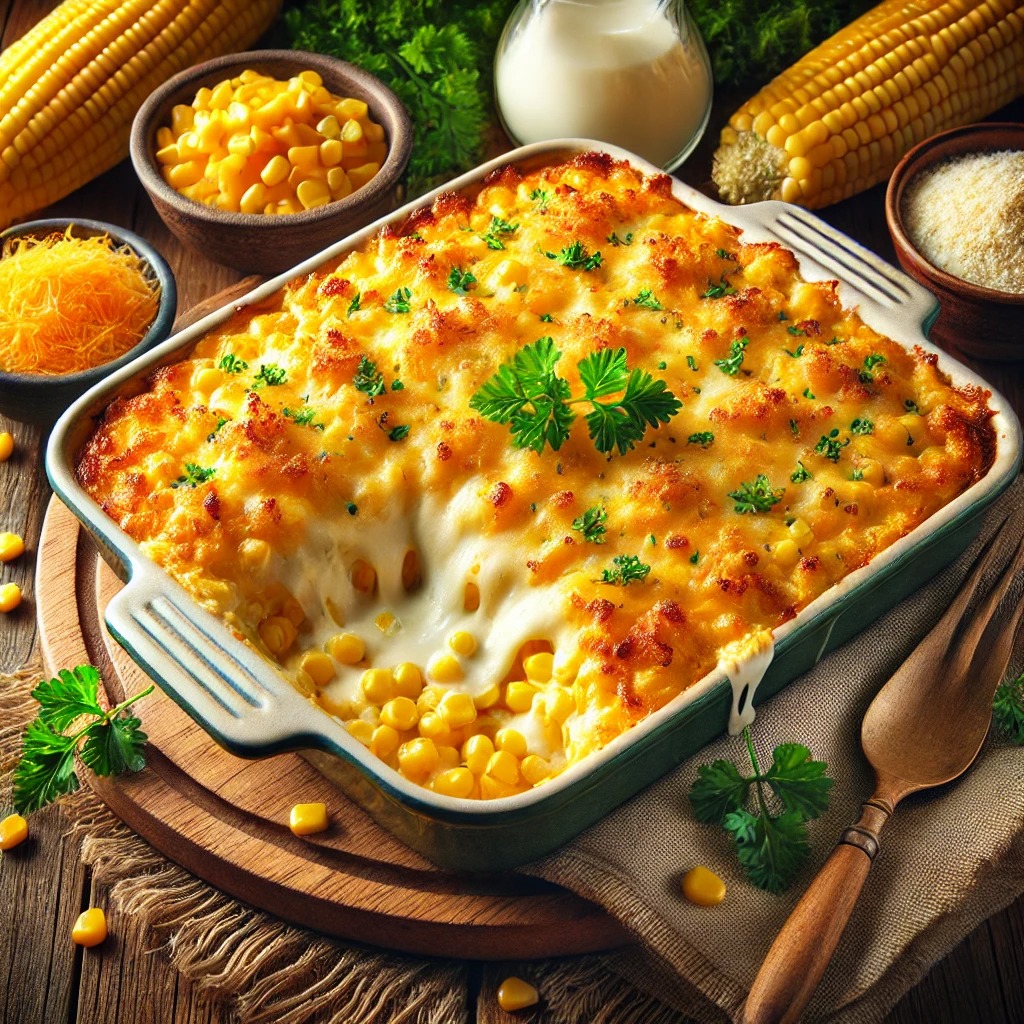
This creamy, cheesy corn dish is packed with flavor and perfect for any meal. Whether it’s a weeknight dinner or a holiday feast, it’s sure to impress!
Add bacon for extra flavor.
Experiment with cheese varieties.
Make ahead and store in the fridge
Nutrition
Calories: 350kcal
Chef’s Secrets to Level Up
The Smoky Swap: Replace smoked paprika with 1 tsp chipotle powder for a spicy kick.
Corn “Jam” Hack: Sauté kernels in butter for 5 extra minutes until slightly charred. This adds a jammy, deep flavor.
Kid-Friendly Version: Skip the gouda and add a handful of mild Monterey Jack.
Why This Recipe Beats All Others
The Roasting Trick: 90% of recipes boil corn, which dilutes flavor. Roasting = maximum sweetness.
Three Cheeses: Cheddar for sharpness, cream cheese for silkiness, smoked gouda for depth.
Smoked Paprika: It adds a subtle campfire vibe that’s chef’s kiss.
Fun Fact: Corn is technically a grass! Its kernels are seeds that contain zeaxanthin, a nutrient that’s great for eye health. So yes, this dish is delicious and nutritious.
How to Repurpose Leftovers (Because You’ll Have Some!)
Cheesy Corn Pancakes: Mix 1 cup leftovers with ½ cup flour + 1 egg. Fry into golden patties.
Stuffed Peppers: Fill halved bell peppers with cheesy corn, bake at 375°F for 20 minutes.
Pasta Savior: Toss with hot pasta and a splash of pasta water for instant mac ’n’ cheese vibes.
Final Bite
This Slaps Cheesy Corn Recipe isn’t just food, it’s a mood. It’s the dish I make when I need a hug on a plate, when friends come over unannounced, or when I want to impress without stress. And hey, if you ever meet that Vermont farmer, tell him Chef Jamie says thanks.
Go on, give it a try. And when you inevitably slap the table after that first bite? Tag me—I’ll be cheering you on!
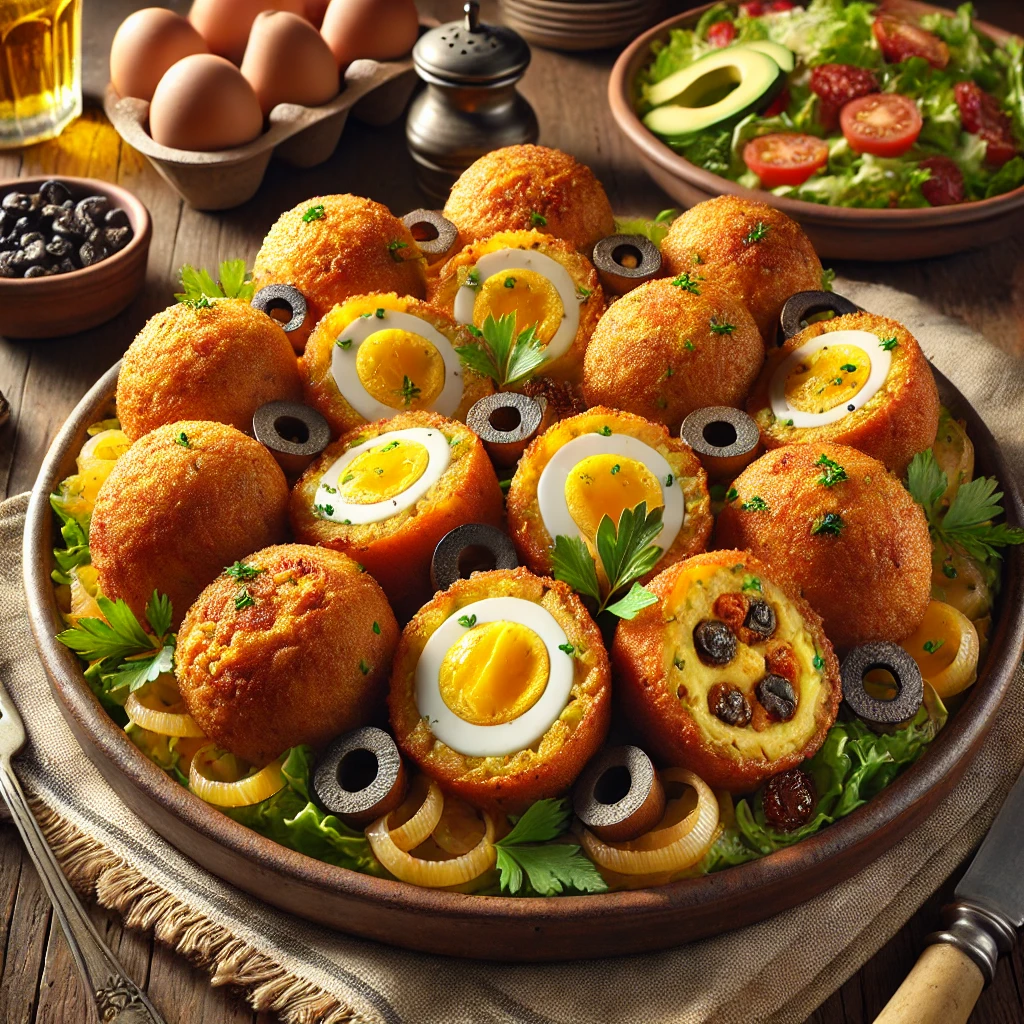
If you’ve never tried Chilean papas rellenas before, you’re in for a treat — and maybe a little obsession. These crispy stuffed potato balls are comfort food at its finest, filled with seasoned ground beef and surprise bits of chopped egg, then pan-fried or baked to golden perfection. Whether you call them street food, a family dish, or just your new favorite snack, one thing’s for sure: they disappear fast.
A Little Chilean Backstory
I first learned how to make papas rellenas from my aunt during summer visits to Santiago. Her tiny apartment kitchen always smelled like something incredible — garlic, onions, and that cozy scent of home-cooked magic. She’d hand me a spoon, let me mash potatoes like it was play dough, and smile as I got the filling everywhere. That’s how food memories are made.
What I love about the Chilean version is how humble the ingredients are — just meat, potatoes, and a few spices — but when you bring them together the right way, the result feels like a hug in food form.
What Makes These Unique?
You’ll find papas rellenas all across Latin America, but Chile’s version has its own personality:
Hard-boiled egg bits mixed into the meat. Sounds odd? It’s not. That creamy texture takes it to another level.
Mild spices like cumin and paprika bring warmth without overpowering the dish.
Oval shape — a small visual detail, but it matters in tradition.
How to Serve Them
You can absolutely serve these as a main with a salad, rice, or grilled veggies. Or treat them like a hearty snack with dipping sauces — I recommend chimichurri or a smoky aioli.
Tips & Variations
Cheese inside: Add a cube of cheese in the center before sealing.
Vegetarian option: Sautéed mushrooms or lentils work beautifully.
Spice it up: Add chopped jalapeño or hot sauce to the filling.
Freeze for later: Make a big batch and freeze them uncooked. Just thaw and bake/fry when needed.
Make mini ones: Perfect for appetizers or kids’ lunchboxes.
Storage
Fridge: Store cooked papas rellenas in a sealed container for up to 3 days.
Freezer: Uncooked ones freeze best. Flash-freeze, then store in a freezer bag.
Reheat: Bake at 375°F until heated through for the crispiest texture.
Nutrition (Per Serving)
Calories: ~350
Protein: 15g
Carbs: 35g
Fat: 18g
Fiber: 4g
Sugar: 6g
Real Talk
These aren’t complicated to make, but they do take a little time and love. The kind of thing you might make on a Sunday afternoon with music playing and someone helping you in the kitchen — or stealing bites of the filling when you’re not looking.
Trust me, once you’ve had homemade papas rellenas, the frozen ones at the store just won’t cut it.
So grab your potatoes, roll up your sleeves, and bring a bit of Chile to your plate tonight.
Want me to format this into WP Recipe Maker layout next?
250gground beefor ground chicken, if you want it lighter
1tspground cumin
1tspsweet paprika
A pinch of chili powderoptional
1hard-boiled eggchopped
1cupbreadcrumbs
1beaten eggfor coating
Oil for fryingor baking instructions below
Instructions
Boil and mash: Start by boiling the potatoes in salted water until fork-tender. Drain, mash until smooth, and let cool slightly. Mix in the raw egg, salt, and pepper.
Prepare the filling: In a skillet, heat oil and cook the onions and garlic until soft. Add the ground beef and cook until browned. Season with cumin, paprika, chili powder, salt, and pepper. Fold in chopped hard-boiled egg and let it cool.
Shape the balls: Take a scoop of mashed potato, flatten it in your palm, and place a spoonful of meat in the center. Carefully close the mash around the filling and shape into a ball or oval. Repeat.
Bread them: Dip each one in beaten egg, then coat with breadcrumbs.
Cook your way:
To fry: Heat oil in a pan and cook until golden and crispy, turning gently.
To bake: Preheat your oven to 400°F (200°C), place on a parchment-lined tray, and bake for about 20-25 minutes.
Notes
Add cheese for a creamy filling.
Use chicken for a lighter version.
Add cumin for an extra flavor boost.
Nutrition
Calories: 350kcal
Frequently Asked Questions (FAQ)
Can I make papas rellenas ahead of time?
Yes, you can prepare and freeze the papas rellenas before frying them.
Can I use a different filling?
Absolutely! Feel free to experiment with different meats or vegetables.
How do I keep papas rellenas crispy?
Make sure to fry them at the right temperature and drain them on paper towels afterward.
Can I bake papas rellenas instead of frying them?
Yes, bake them at 375°F for about 20 minutes until golden.
Are papas rellenas gluten-free?
You can make them gluten-free by using a gluten-free flour for coating.
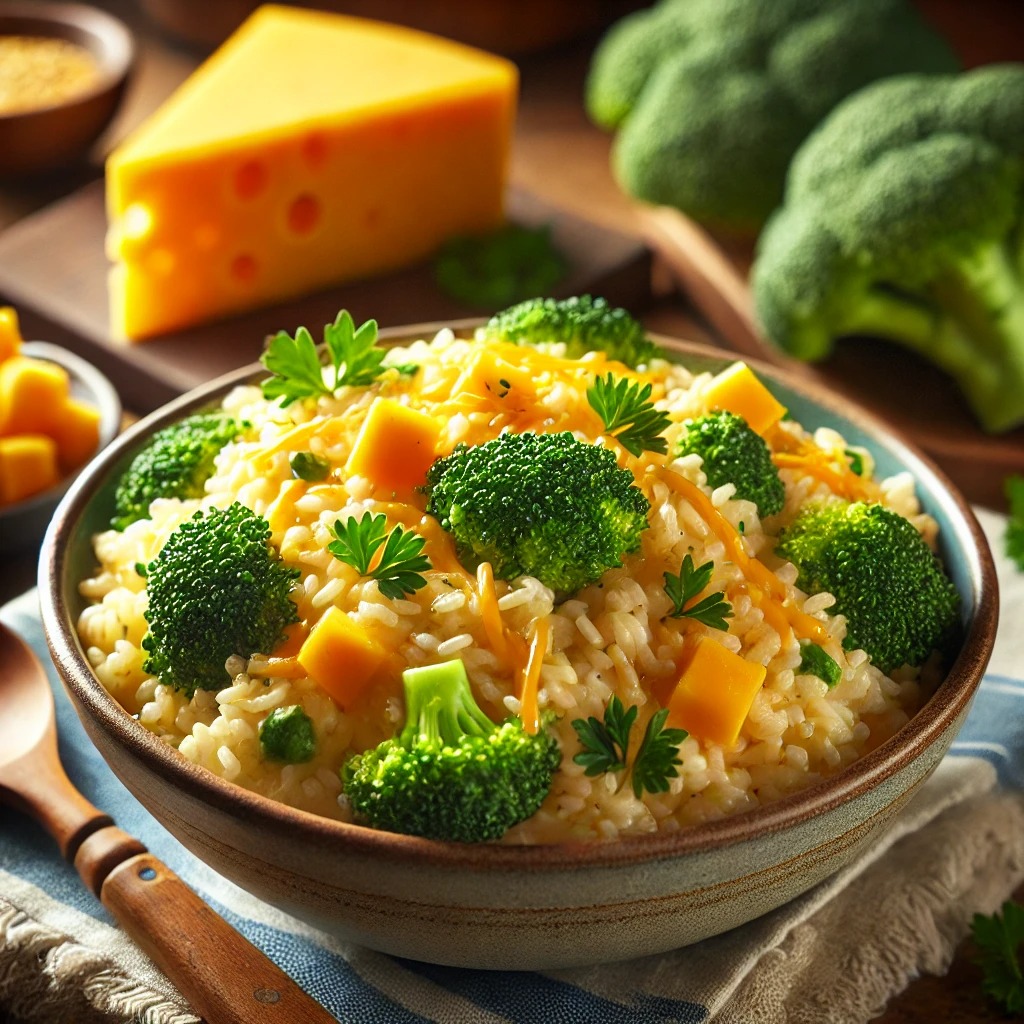
A warm, cheesy dish that is quick to make feels comforting. This is especially true on a weeknight when you want an easy dinner. That’s exactly where Knorr Cheddar Broccoli Rices steps in.
But what if you could take it further? In this guide, we will explore easy and tasty ways to make Knorr Cheddar Broccoli Rice a great meal. You can enjoy it as a main dish, a better side, or a base for fun entrees.
What Is Knorr Cheddar Broccoli Rice?
Knorr’s Cheddar Broccoli Rice is a packaged rice dish. It mixes long grain rice with a creamy cheese sauce and a hint of broccoli flavor. You can use it for quick cooking on the stove or in the microwave. This makes it perfect for busy nights, dorm meals, or anyone who wants a hearty meal without much effort.
But here’s the secret: It’s not just a side. With a few clever add-ins, it becomes the star of your dinner plate.
Why Everyone Loves It
Speed – Ready in under 10 minutes.
Taste – The flavor is rich and creamy, with a balanced blend of cheddar and a hint of broccoli.
Versatility – Works with everything from chicken and shrimp to meatless add-ins like mushrooms or spinach.
Budget-Friendly – A full-flavored meal for just a few dollars.
Basic Preparation (Just the Beginning)
If you’ve never made it before, the basic stovetop method goes like this:
Pour the contents of the package into a saucepan.
Add 2 cups of water and 1 tablespoon of butter or margarine.
Bring to a boil, then reduce to a simmer for about 7 minutes, stirring occasionally.
Let sit off heat for a couple of minutes to thicken.
Knorr Cheddar Broccoli Rice is the perfect dish for busy nights when you need something quick and satisfying. Whether you stick to the classic recipe or put your own spin on it, this dish is sure to become a family favorite.
Course Main Course, Side Dish
Cuisine American
Keyword broccoli, easy, Hearty, side dish
Prep Time 5 minutesminutes
Cook Time 9 minutesminutes
Total Time 14 minutesminutes
Servings 4
Calories 220kcal
Cost 6
Equipment
Pan: 1 medium saucepan
Spatula: 1 wooden spoon for stirring
Measuring cups: To measure water or broth
Ingredients
1box of Knorr Cheddar Broccoli Rice Mixthe golden key to flavor!
2cupsof water or chicken brothbroth makes it extra rich!
1tablespoonof butterfor that creamy, dreamy texture
1cupof fresh broccoli floretsyour tiny green trees!
½cupof shredded cheddar cheesebecause more cheese = more happiness
Optional treasures to make it YOURS:
Cooked chickenshrimp, or sausage (for protein power!)
Red pepper flakes or jalapeñosfor a spicy kick!
Fresh herbs like parsley or thymefor a fancy touch!
Instructions
Step 1: The Pot of Beginnings: Grab a medium-sized pot—your trusty cauldron. Pour in the Knorr Cheddar Broccoli Rice Mix and add 2 cups of water or chicken broth. Stir it like you’re casting a spell.
Step 2: The Boiling Battle: Turn the heat to high and let the mixture come to a boil. Watch as the bubbles rise like tiny dragons breathing steam. Once it’s bubbling, reduce the heat to low and let it simmer for 7-10 minutes. Stir occasionally to keep the rice from sticking.
Step 3: The Butter Volcano: Once the rice is tender and the liquid is absorbed, it’s time for the butter volcano! Drop in a tablespoon of butter and watch it melt into a golden pool of deliciousness.
Step 4: The Broccoli Forest: Add your broccoli florets to the pot. Stir them in gently, imagining they’re tiny trees growing in a cheesy meadow. Let them cook for 2-3 minutes until they’re tender but still slightly crunchy.
Step 5: The Cheese Tornado: Now for the grand finale—sprinkle in the shredded cheddar cheese. Stir it slowly, watching as the cheese melts into a gooey, stretchy tornado of flavor.
Notes
Use chicken broth instead of water for more flavor.Don’t let the broccoli get too mushy!Store leftovers in the fridge for 3 days.
Nutrition
Calories: 220kcal
5 Delicious Ways to Upgrade Knorr Cheddar Broccoli Rice
1. Cheddar Broccoli Chicken Bowl
If you find yourself with leftover grilled or rotisserie chicken, don’t let it go to waste! Many tasty and creative ways exist to use this versatile protein in new meals. These meals are satisfying and easy to make. Here are some ideas to inspire you:
1.Chicken Salad:
Shred leftover chicken. Mix it with mayonnaise, diced celery, and chopped apples or grapes for a tasty salad. You can also add nuts like walnuts or almonds for an extra crunch. Serve it on a bed of greens, in a sandwich, or in a wrap for a quick and tasty lunch.
2. Chicken Tacos:
Use the leftover chicken as a filling for tacos. Simply shred the chicken and warm it up with some taco seasoning.
Serve it in corn or flour tortillas. Add your favorite toppings like diced tomatoes, avocado, shredded lettuce, cheese, and salsa. This is a fun and flavorful way to enjoy your leftovers.
3. Chicken Stir-Fry:
Cut the chicken into bite-sized pieces and toss it into a stir-fry with a mix of your favorite vegetables, such as bell peppers, broccoli, and snap peas. Add some soy sauce, garlic, and ginger for flavor, and serve it over rice or noodles for a quick and nutritious dinner.
4. Chicken Soup:
Transform your leftover chicken into a comforting soup. Sauté onions, carrots, and celery in a pot, then add chicken broth, herbs, and the shredded chicken. Let it simmer and add noodles or rice for a hearty meal that’s perfect for chilly days.
5. Chicken Pizza:
Use the chicken as a topping for homemade or store-bought pizza. Spread some barbecue sauce or tomato sauce on the crust, add shredded chicken, and top with cheese and your favorite vegetables. Bake until the cheese is bubbly and golden for a delicious twist on pizza night.
6. Chicken Quesadillas: Place shredded chicken and cheese between two tortillas. Cook them in a skillet until the tortillas are crispy and the cheese melts. Serve with salsa, guacamole, or sour cream for a quick and satisfying snack or meal.
7. Chicken Fried Rice:
Incorporate the chicken into a fried rice dish. Sauté cooked rice with vegetables like peas, carrots, and onions, then add the chicken and some soy sauce for flavor. This is a great way to use up leftover rice and create a filling meal.
8. Chicken Casserole:
Mix cooked chicken with pasta, a creamy sauce, and vegetables. Bake it all together for a warm casserole. Top with breadcrumbs or cheese for a crispy finish.
You can use leftover grilled or rotisserie chicken in many ways. This helps you make tasty meals.
It saves time and reduces food waste. Plus, it keeps your meals exciting and full of flavor. So, the next time you have leftover chicken, don’t hesitate to get creative in the kitchen!
How to do it:
While the rice simmers, shred about 1 cup of cooked chicken.
Stir it in during the last 2 minutes of cooking.
Add a small handful of extra shredded cheddar for a creamier, protein-packed bowl.
Want to stick around a bit longer? Turn your rice into a baked masterpiece.
How:
Prepare Knorr Cheddar Broccoli Rice as usual.
Stir in ½ cup of milk, ½ cup shredded cheese, and a handful of steamed broccoli florets.
Pour into a buttered baking dish, top with breadcrumbs and more cheese.
Bake at 375°F for 15 minutes until bubbly and golden.
Perfect for small households or side portions at dinner parties.
3. Shrimp & Spice Knorr Rice Bowl
Want something with flair? Add shrimp and heat.
You’ll need:
½ lb of peeled, deveined shrimp
1 tsp Cajun or Old Bay seasoning
Sauté the shrimp separately while the rice cooks. Once both are ready, combine and mix well. A squeeze of lemon brings it all together. Serve hot with a sprinkle of red pepper flakes if you dare.
4. Vegetarian Power Bowl
Make it meatless, but no less hearty.
Toss in sautéed mushrooms, diced bell peppers, baby spinach, and a spoon of hummus. Yes — hummus. It adds creaminess and a unique nutty flavor that complements the cheesy rice.
Optional Boost: Add roasted chickpeas or a soft-boiled egg on top.
5. Breakfast Remix
This sounds strange until you try it. Heat leftovers and top them with a fried or poached egg. The yolk adds an extra layer of richness that turns this humble side dish into a bold breakfast.
Serving Suggestions
As a main dish: Pair with a green salad or roasted vegetables.
As a side: Serve alongside baked chicken thighs, salmon fillets, or BBQ pork chops.
For kids: Spoon into ramekins, top with cheese, and broil for a melty after-school snack.
Ingredient Variations and Add-ins
Mix and match depending on your cravings or what’s in your fridge:
Protein: Diced ham, crumbled sausage, shredded turkey, tuna, or tofu.
Cheese: Sharp cheddar, mozzarella, Monterey Jack, or a touch of blue cheese for boldness.
Spices: Garlic powder, smoked paprika, Italian seasoning, or chili flakes.
Storage Tips
Fridge: Store leftovers in an airtight container for up to 3 days.
Freezer: Yes, you can freeze it! Let cool, portion into freezer bags or containers, and freeze for up to 1 month. Thaw overnight in the fridge before reheating.
Reheating: Warm gently on the stovetop or in the microwave. Add a splash of milk or water if it seems too dry.
Health & Nutrition Breakdown (Per Serving, Approx.)
Calories: ~220
Protein: 6g
Carbs: 32g
Fat: 8g
Sodium: 420mg
Fiber: 2g
This isn’t a “diet food,” but you can easily make it lighter by:
Swapping butter for olive oil
Using less cheese or a low-fat version
Adding more vegetables to bulk up each serving
Frequently Asked Questions
Q: Can I make it without butter?
Yes! Use olive oil or just skip it altogether. It’ll still be flavorful, just a little less creamy.
Q: Is it gluten-free?
Most Knorr sides contain gluten. Always check the label if you’re gluten-sensitive.
Q: Can I microwave it instead of cooking on the stove?
Definitely. Combine ingredients in a microwave-safe bowl and heat for about 12 minutes, stirring halfway through.
Q: Can I double the package?
Yes, but use a larger pan and stir frequently to prevent sticking. You’ll also need to slightly increase cook time.
Final Thoughts
Knorr Cheddar Broccoli Rice is one of those kitchen staples that proves quick food must be exciting. With some creativity and a few items from your fridge, you can turn this simple side into a delicious meal. Whether you’re a student, a busy parent, or just a fan of cheesy rice, these recipes and tips are sure to become favorites.
So, go ahead — open that pantry, grab your Knorr packet, and get cooking. Dinner is just 10 minutes (and maybe a little cheese) away.