Delicious Rhubarb Custard Pie Recipe: A Sweet and Tangy Treat for Every Occasion
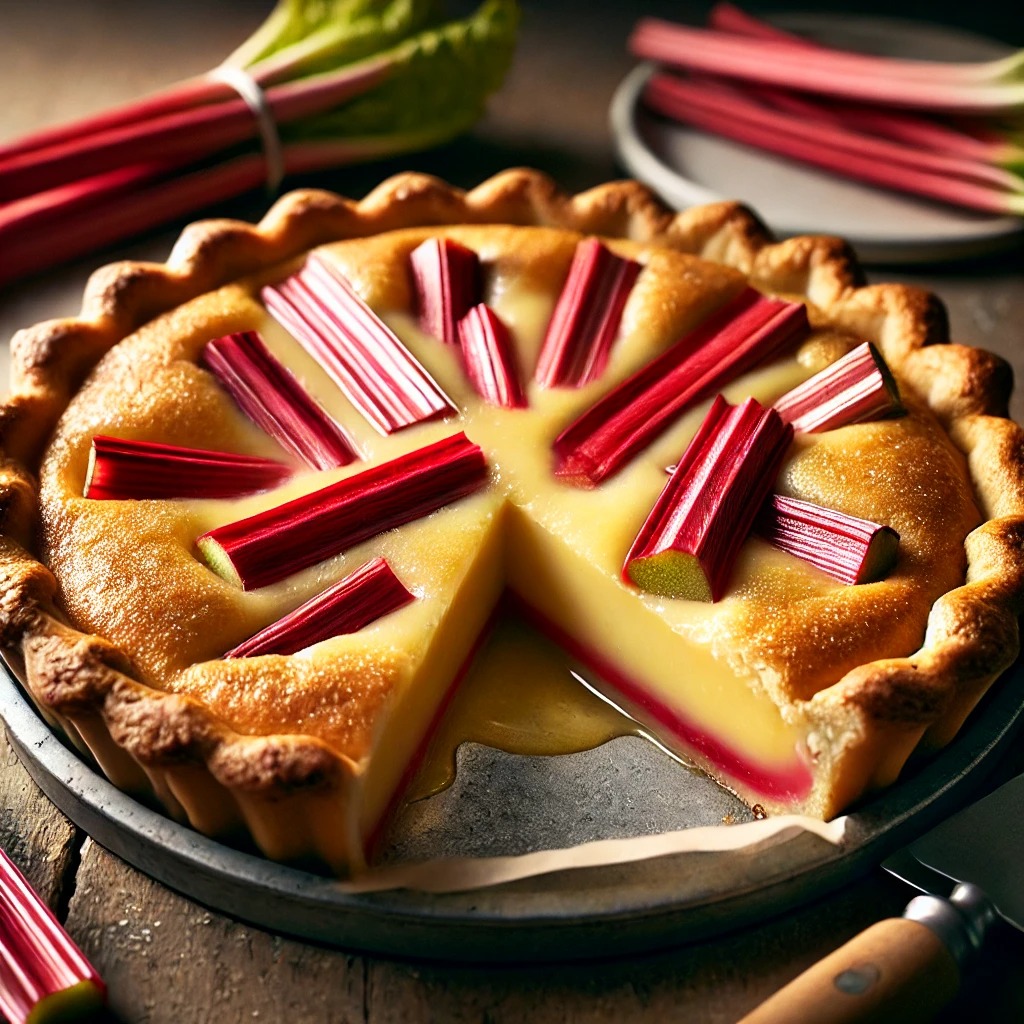
This rhubarb custard pie recipe is a springtime classic that balances the sharp tang of fresh rhubarb with the creamy sweetness of ...
Read more
Old-Fashioned 7 Cup Salad Recipe: The Ultimate Crowd-Pleasing Dessert!
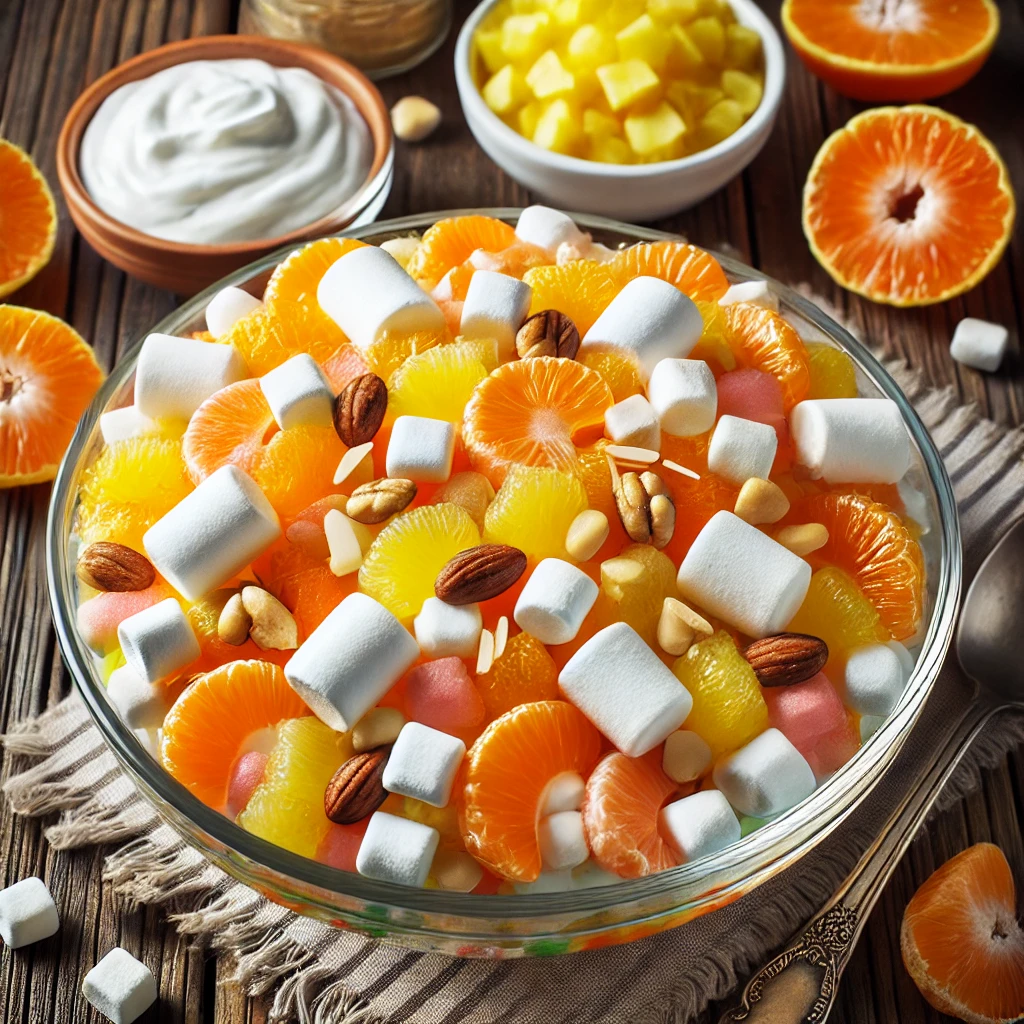
When my grandma first handed me her stained, handwritten recipe card for 7 Cup Salad, I thought it was magic. ...
Read more
What Makes This Dubai Chocolate Recipe So Irresistible
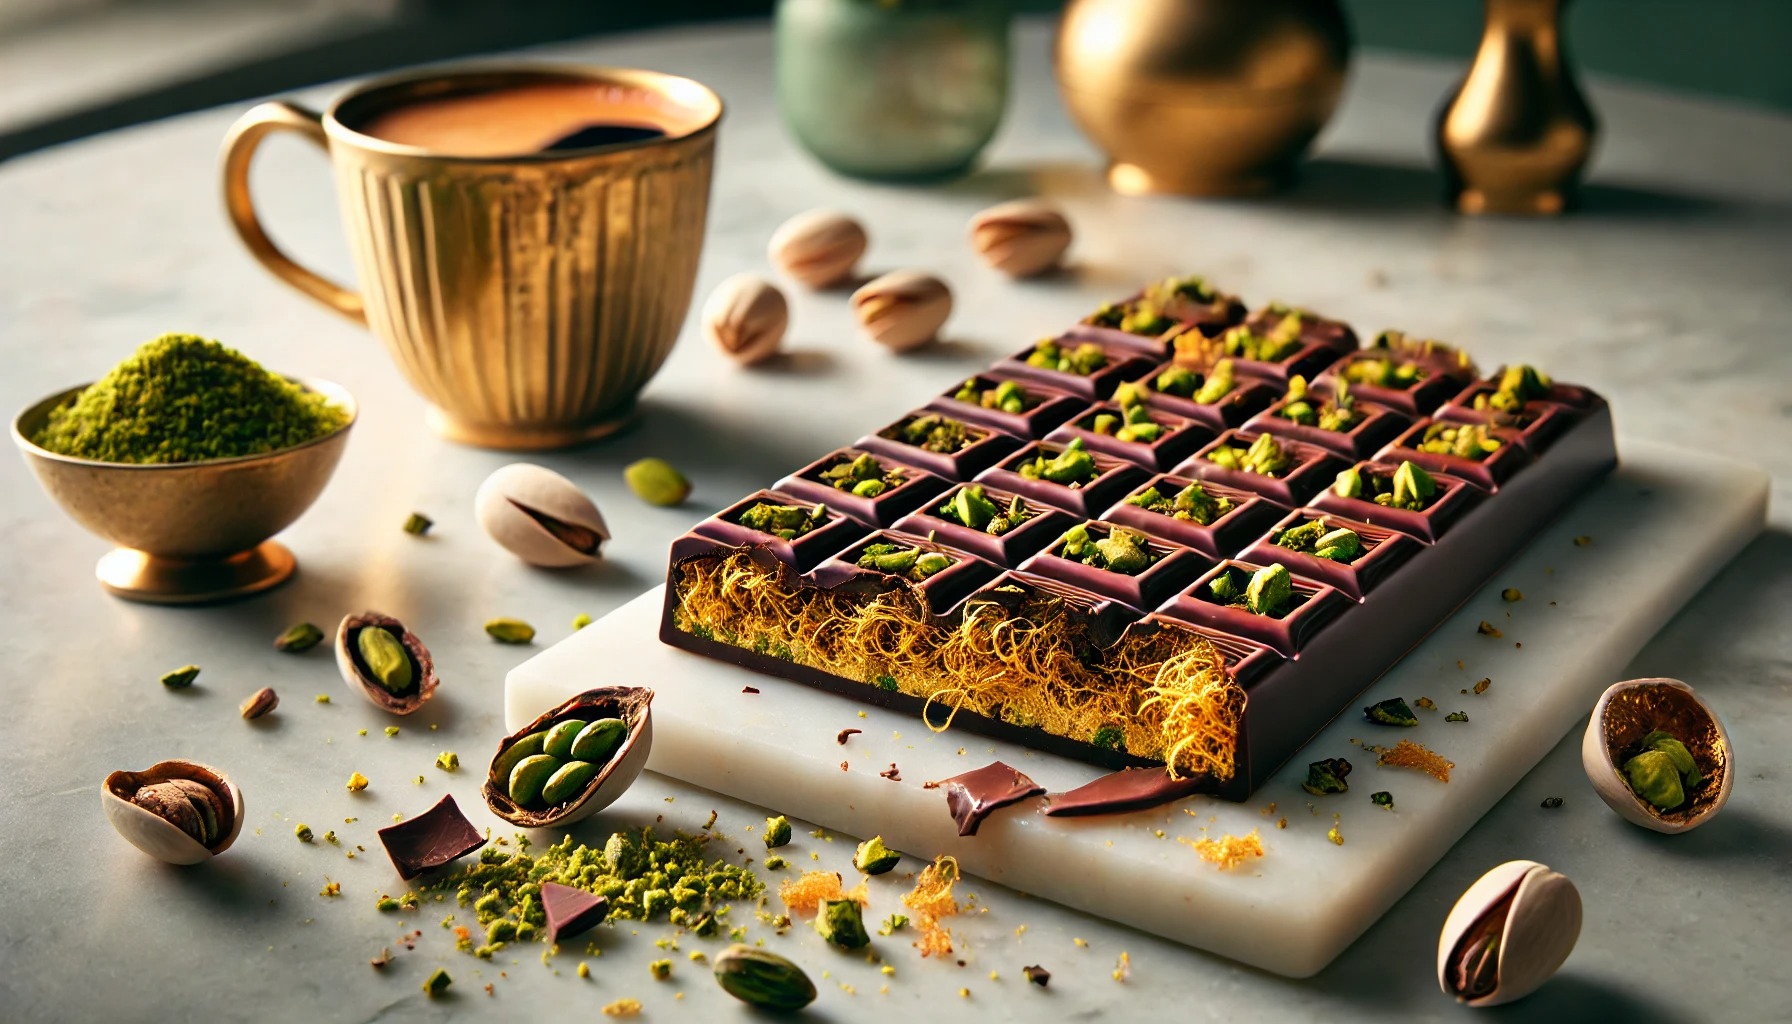
Imagine biting into a chocolate bar that encapsulates the luxury and richness of Dubai—smooth, creamy, and infused with exotic flavors ...
Read more
Yorkshire Pudding Recipe: Fluffy, Golden Perfection
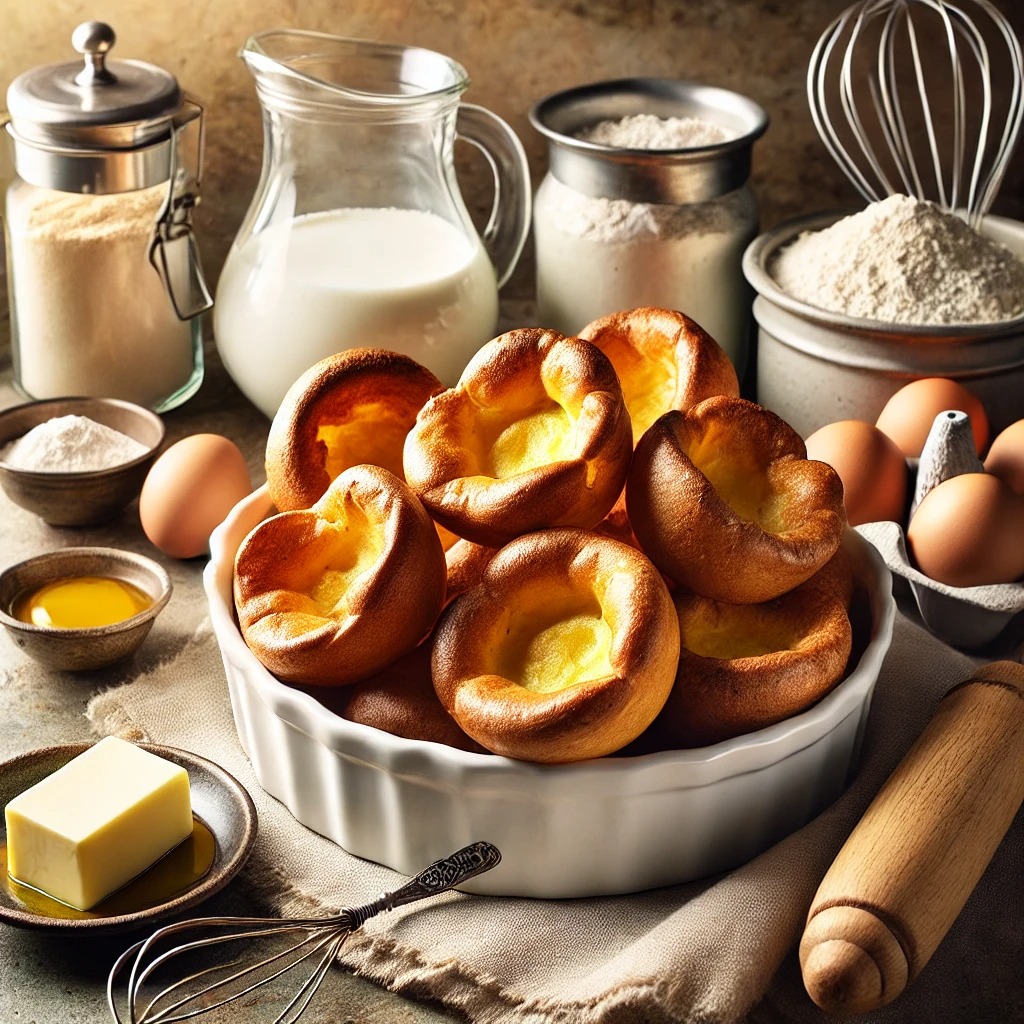
Today, we’re diving into one of Britain’s most beloved dishes: Yorkshire pudding. Crispy on the outside, soft in the middle, and ...
Read more
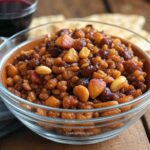
The Best Rick Nolan Hotdish Recipe You’ll Ever Make
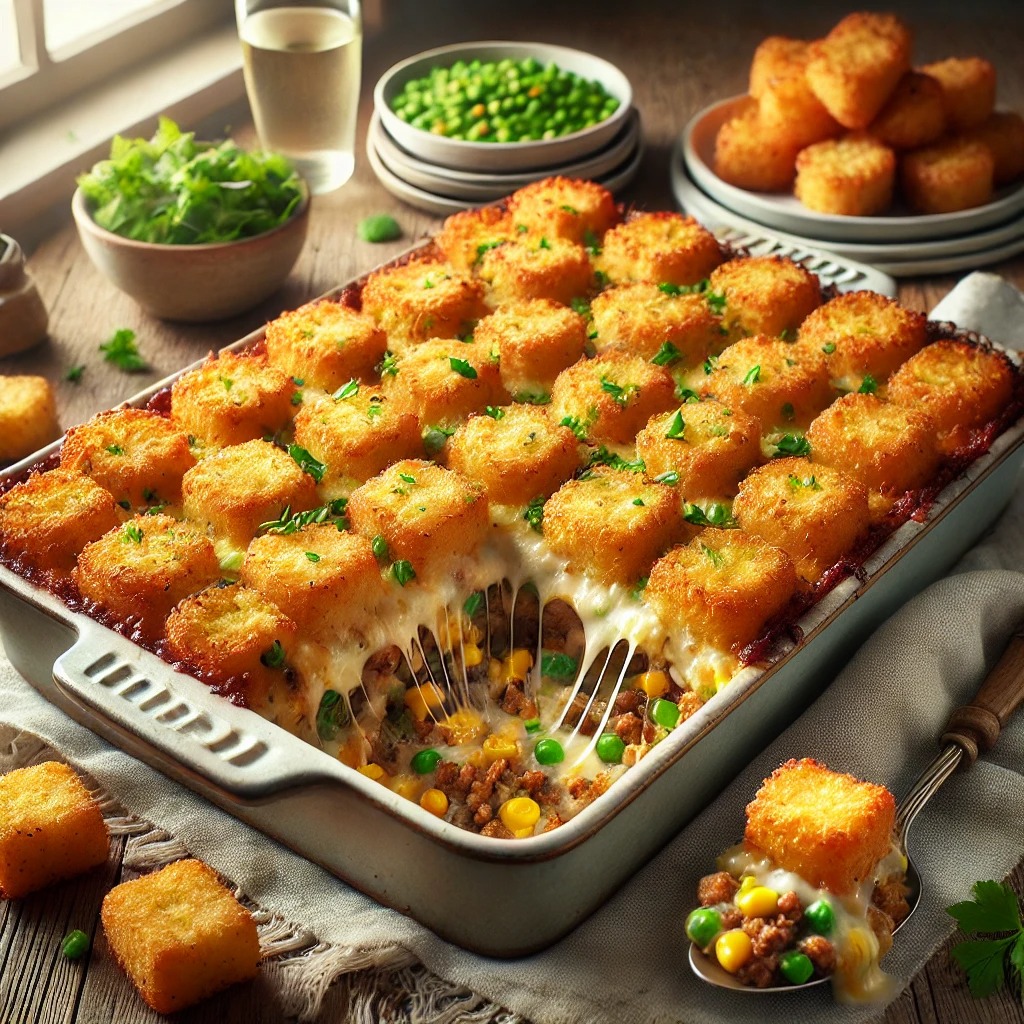
Hey there, food friends! Today, I’m sharing a recipe that’s as warm and welcoming as a hug from your grandma. ...
Read more
Affordable Yet Delicious: Passionate Penny Pincher Recipes
Cooking on a budget doesn’t mean sacrificing flavor. With a little creativity and know-how, anyone can enjoy hearty, delicious meals ...
Read more
The Best Papas Rellenas Recipe – Chilean Style!

Hey there, food adventurers! Today, I’m taking you on a delicious journey to Chile with a recipe that’s as fun ...
Read more
Sourdough Discard Pizza Dough: The Perfect Recipe for Crisp, Flavorful Crust
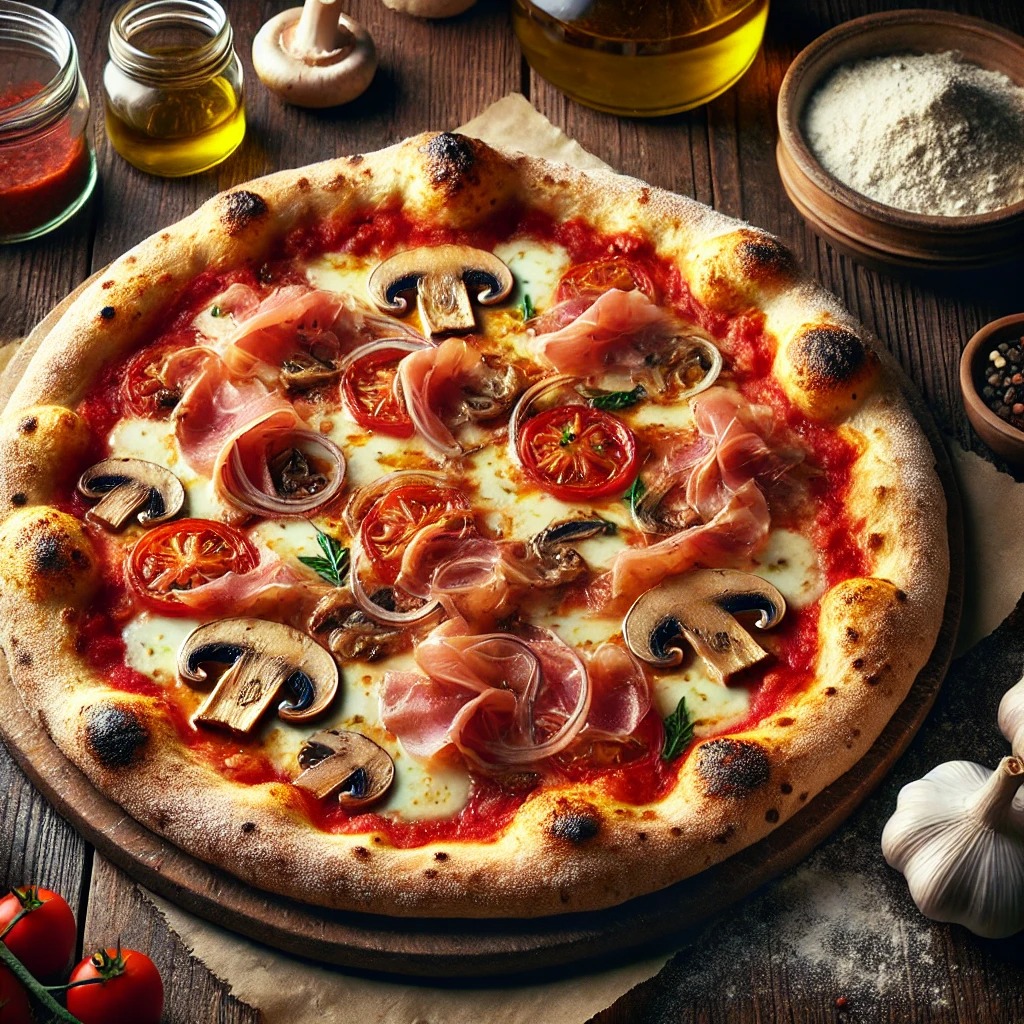
One day, I was cleaning my fridge and found a jar of sourdough discard. (That’s the leftover sourdough starter you ...
Read more
15 Delicious 1st Phorm Recipes to Fuel Your Day
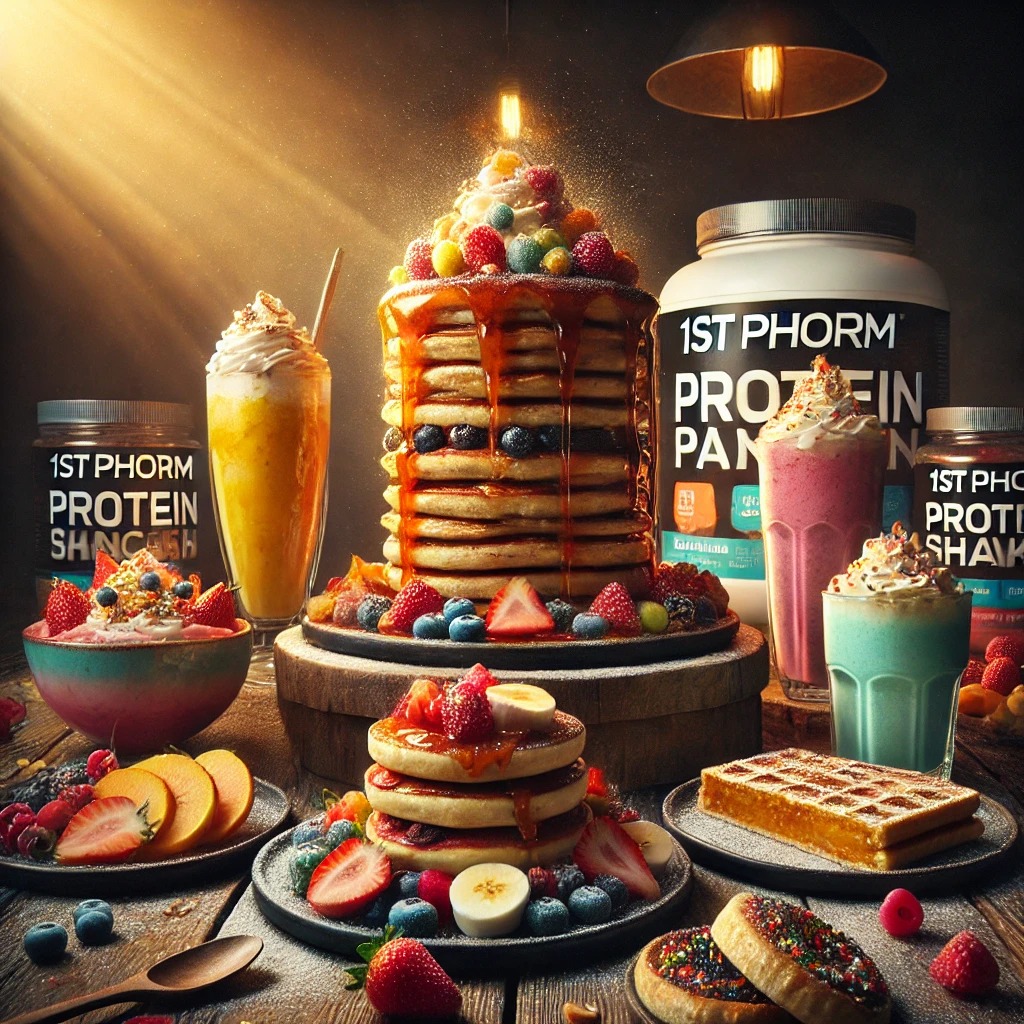
I was just starting my fitness journey. I was overwhelmed by all the complicated recipes and fancy ingredients I thought ...
Read more
Thorntons Treacle Toffee: A Timeless British Delight
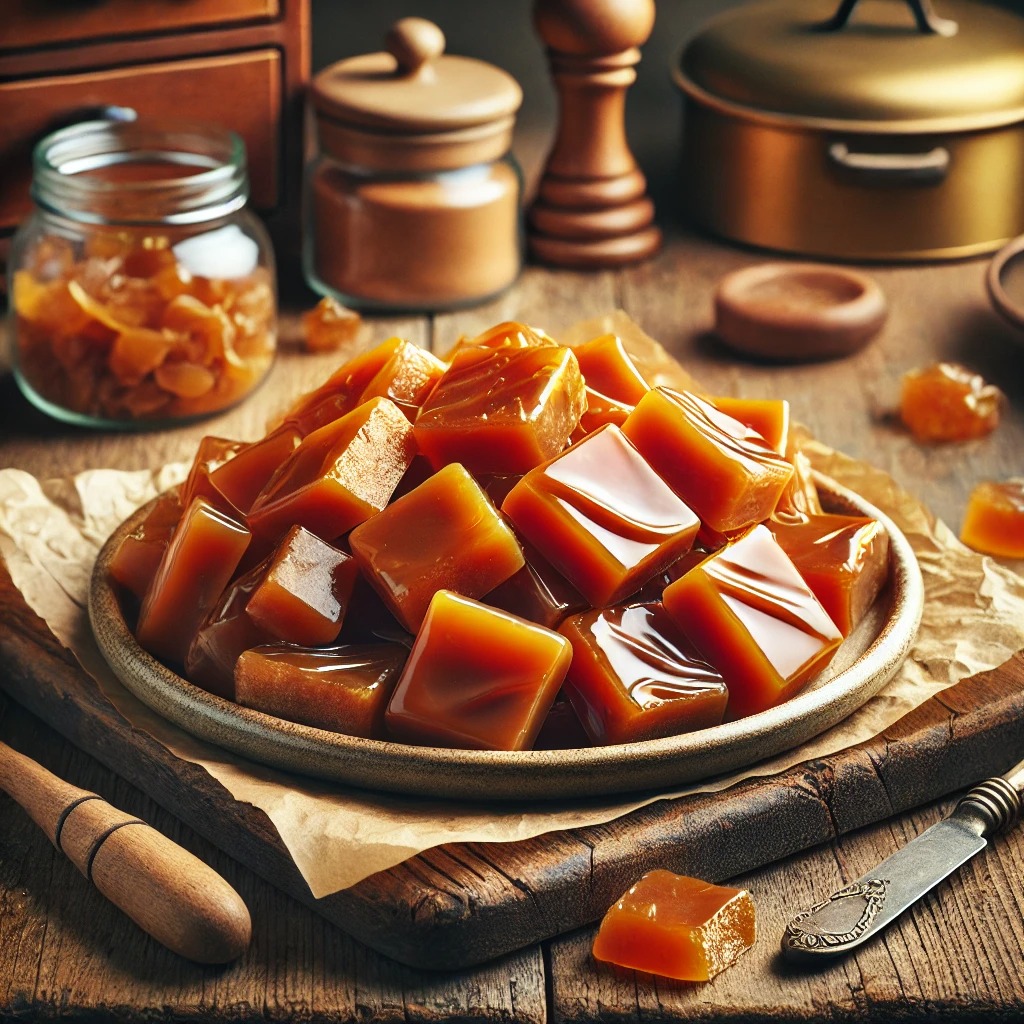
When I was a little kid, my grandmother’s kitchen was my favorite place in the world. It always smelled like ...
Read more